Sunday, March 24, 2013

Buzz and Bumble

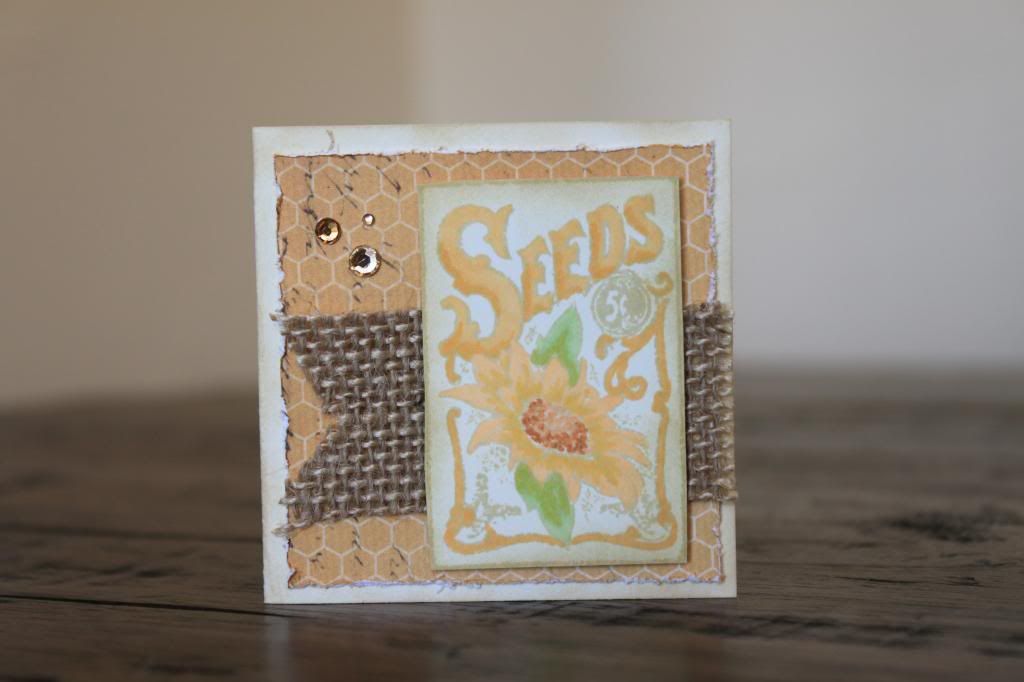
My next card for this week's upcoming workshop uses the Buzz and Bumble Workshop on the Go.  I chose to use the 3x3 card format.  But I also wanted to showcase our new alcohol markers.  


I was not very enthusiastic about this paper to begin with--could have something to do with my husband's deathly allergic reaction to bee stings, but seeing it in person I kind of fell for it.  

Already thinking ahead to my next project to use it....
Meredith

Supplies: all CTMH unless noted
Paper: Buzz and Bumble, Colonial White CS
Ink: Bamboo, and markers in both shades of Sweet Leaf, Honey, Creme Brulee, Autumn Terracotta
Stamp: Buzz and Bumble WOTG (G1054)
Other: sponge dauber, edge distresser, burlap ribbon, liquid glass, foam tape, sparkles

Friday, March 22, 2013

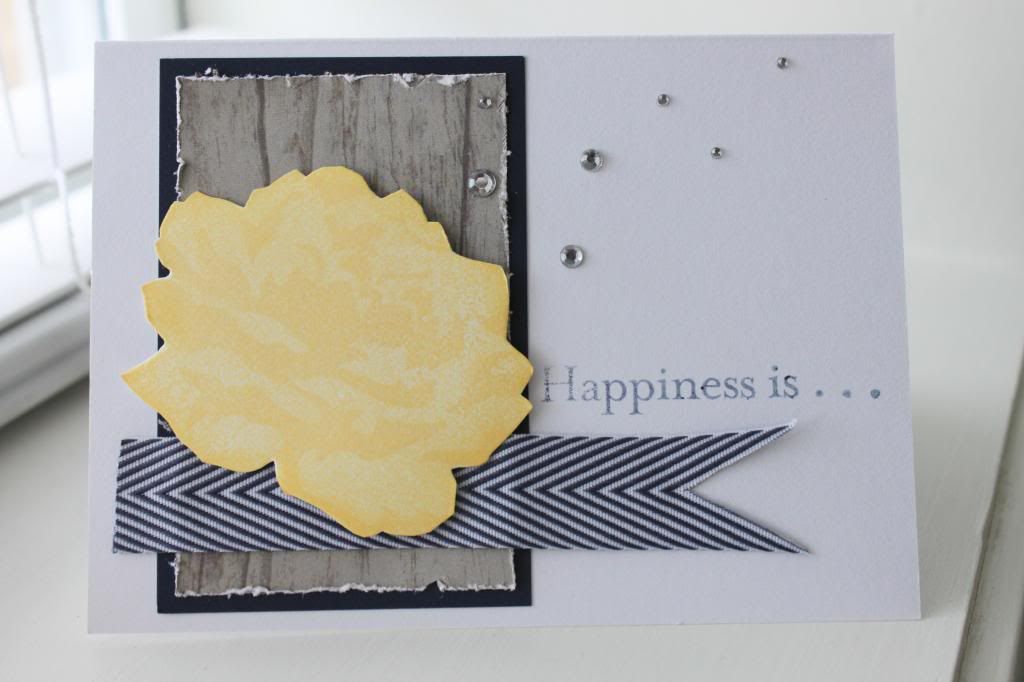
Floral Happiness

I'm still trying to come up with two cards for my workshop next Wednesday.  I really wanted to feature the Stamp of the Month for March and a new product or two.

Here is the first card.  Inside reads 'having you as a friend'.  The stamp set has some great sentiments on it, but I just had to work forever to get the layout how I wanted haha.


I am kind of digging the new Chevron Ribbon in Outdoor Denim too.  :)

Hope you all have great plans for the weekend.  My daughters and I will be taking an art lesson!
God Bless!
Meredith

Supplies Used: all CTMH unless noted
Paper: Outdoor Denim CS, Dakota B&T, White Daisy CS
Ink: Outdoor Denim (second generation) Buttercup
Stamp: Floral Happiness (S1303)
Other: Chevron Ribbon, sponge dauber, edge distressor, micro tip scissors, sparkles, adhesive and foam tape.

Wednesday, March 20, 2013

So Ready for SUMMER!

One of my bestest friends, in fact we consider each other sisters, wants to do a workshop this month.  She chose to feature the CTMH My Creations Bracket Frame and a beach theme.  I was so excited to do it!  Here's the frame I came up with.  Be sure to click on the picture to enlarge it and see the details!  :)


I love love the look of the barn wood paper with the beach theme.  And the Surf's Up papers were so colorful and fun I thought they would work perfectly for any beach themed photo that a person might want to add.  I chose this adorable shot of my son playing in the water from last summer.  Gosh could you just smooch that face or what!?!

The thing about these frames that I love is that you can make them very 3D!  The layout with clouds is in the back of the frame.  The twine with Mini-Clothespins is hanging across the middle and the paper candy is on the outside.  It really draws your eye in.  And the cool part is you can change the photo whenever you want since it's just hanging on the clothes line!!

Just for fun, I'm adding this entry to the Moxie Fab Challenge.

Thanks for dropping by!
Meredith

Supplies Used:  all CTMH unless noted
Paper: Dakota B&T, Surf's Up B&T, Colonial White CS
Stamps: Tropical Paradise C1531
Ink:  Crystal Blue, Ponderosa Pine
Other: sponge dauber, Cricut Artiste, circle punch, Edge Distressor, glue gun/hot glue, twine, Micro-tip Scissors, foam tape, adhesive, Mini Clothespins (Z1815)


Thursday, January 31, 2013

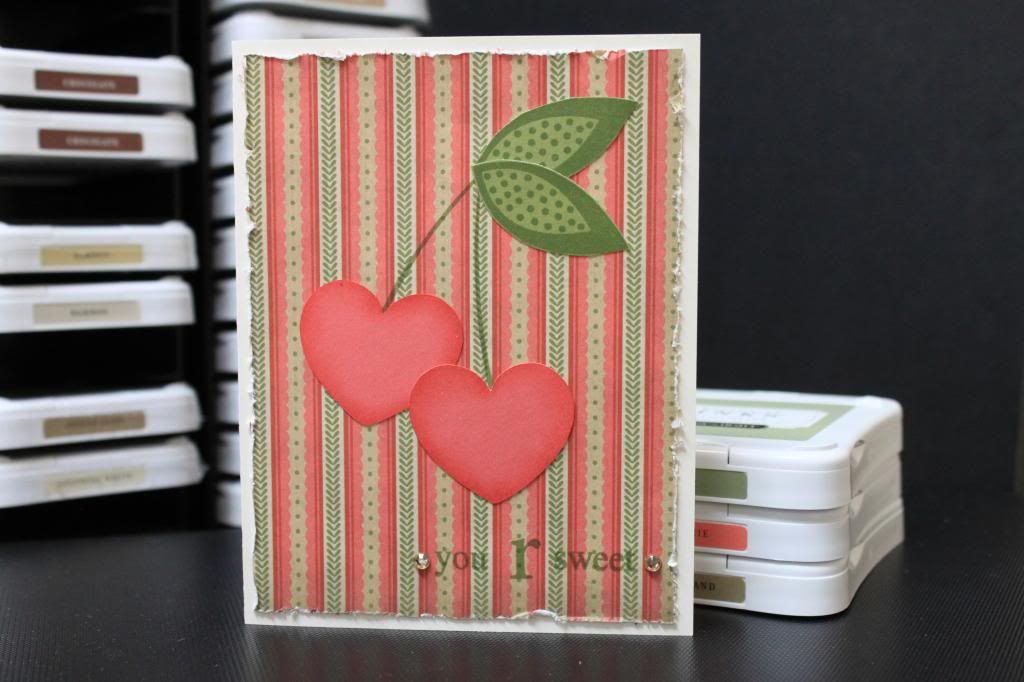
You R Sweet {Pear and Partridge}

I'm back at it with the Pear and Partridge papers used for a Valentine's card.  I can't help it.  I like it better as a Valentine's paper than I ever did for Christmas!

I can't take credit for using the hearts as cherries.  I know I've seen that before, but I sure did think it would be cute to try.


I inked the edges of the hearts with Smoothie to give them some dimension.  So what do you think?  Is this card sweet??  :)

TGIF!
Meredith

Supplies Used: all CTMH unless noted
Paper: Hollyhock CS, Olive CS, Colonial White CS, Pear and Partridge B&T
Ink: Olive, Smoothie
Stamps: Serendipity (for the leaf-retired), Solo "s", "y" and "r" (retired), With Love (for the stem-retired)
Other: edge distresser, Sparkles, sponge dauber, Cricut Artiste (hearts), 

Wednesday, January 30, 2013

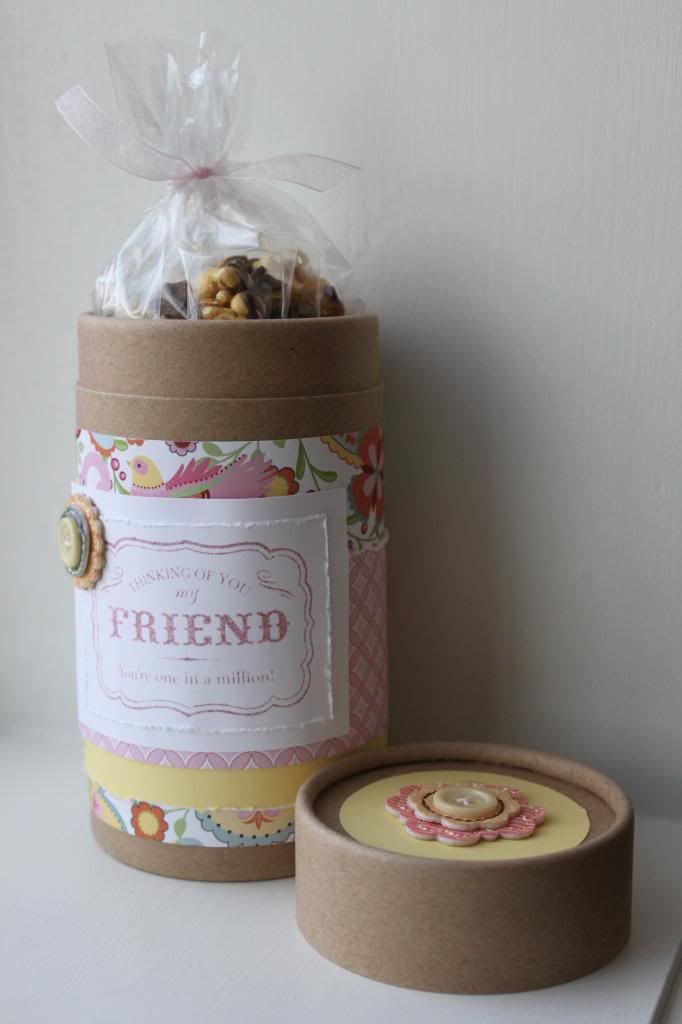
My Creations Container {Chantilly Papers}

I have been itching to make something with some of the new product (available for purchase February 1st) and I finally sat down today to work with it!

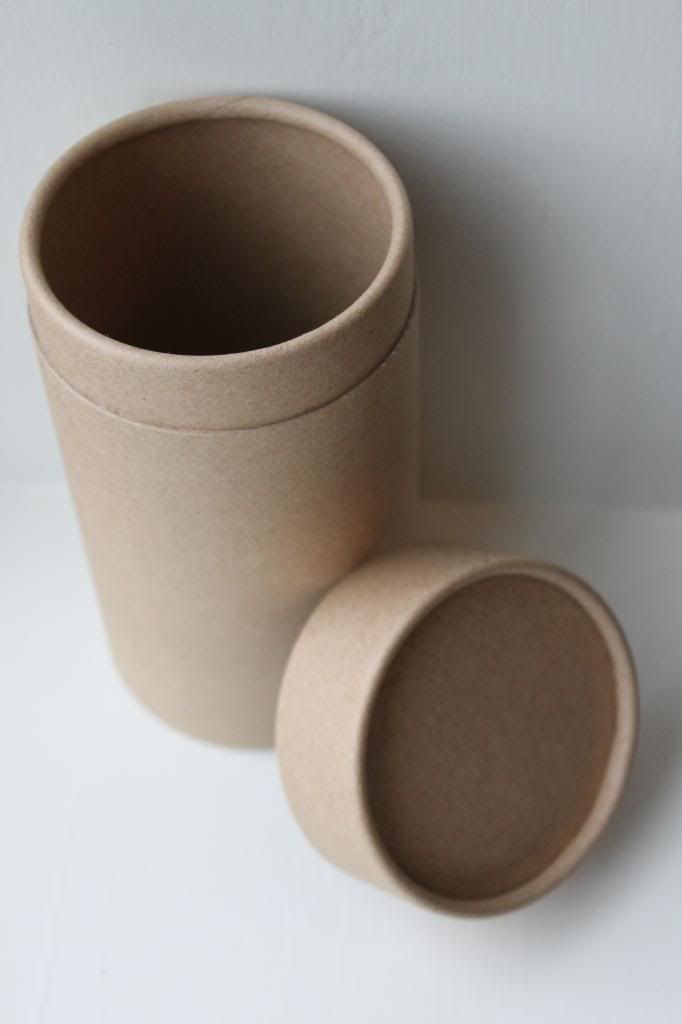
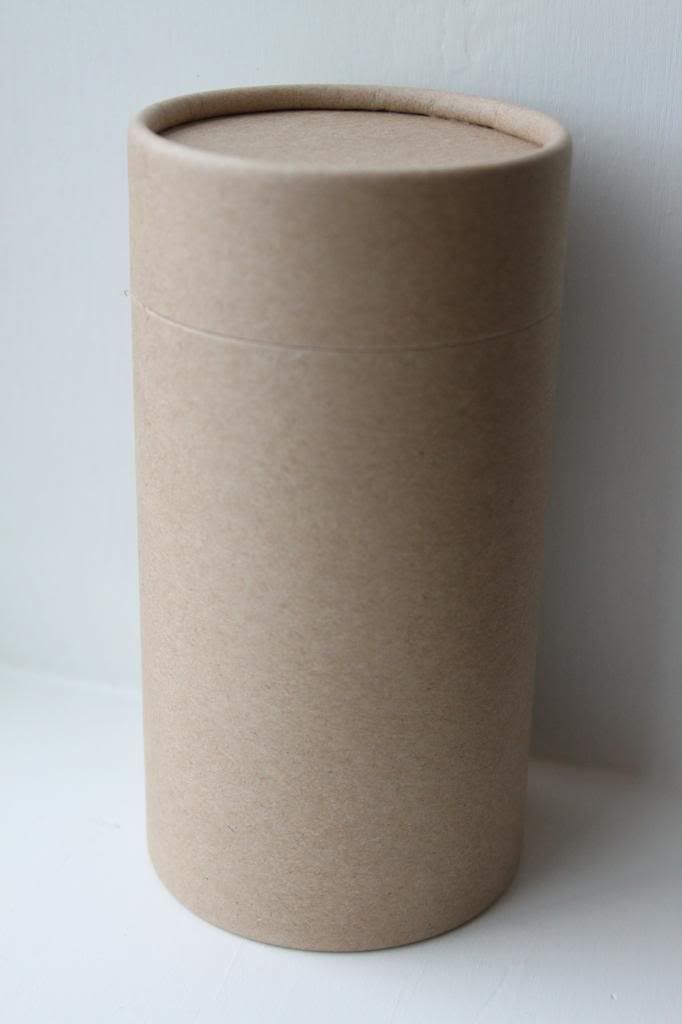
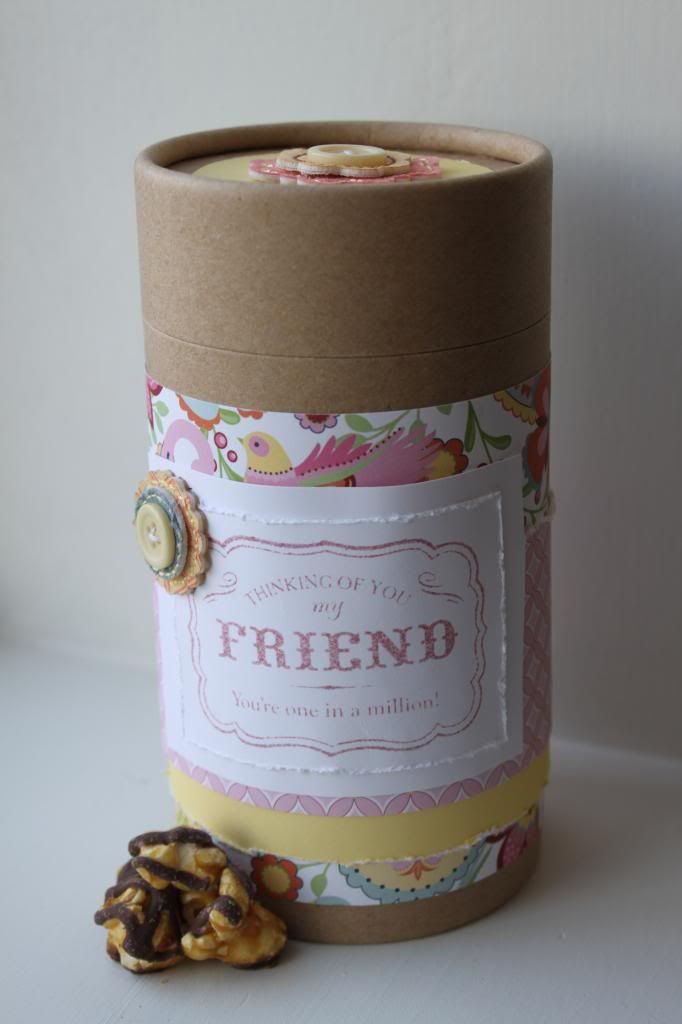
One of my favorite new products...and there are a lot...is the Kraft My Creations Container.  When you look at it you can just imagine the possibilities!


And with the lid on...


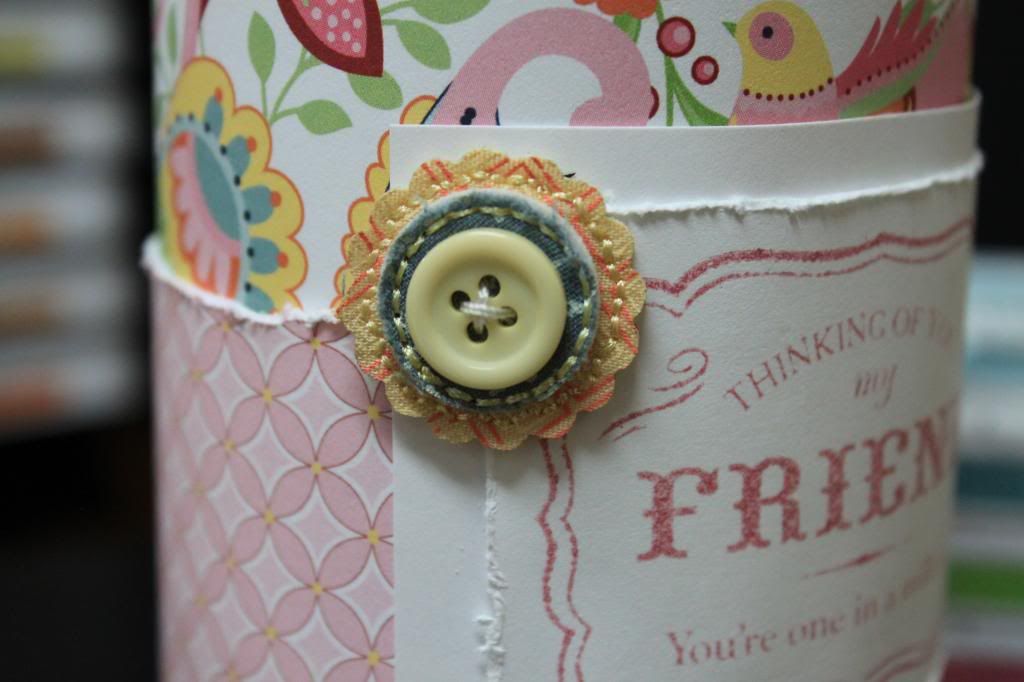
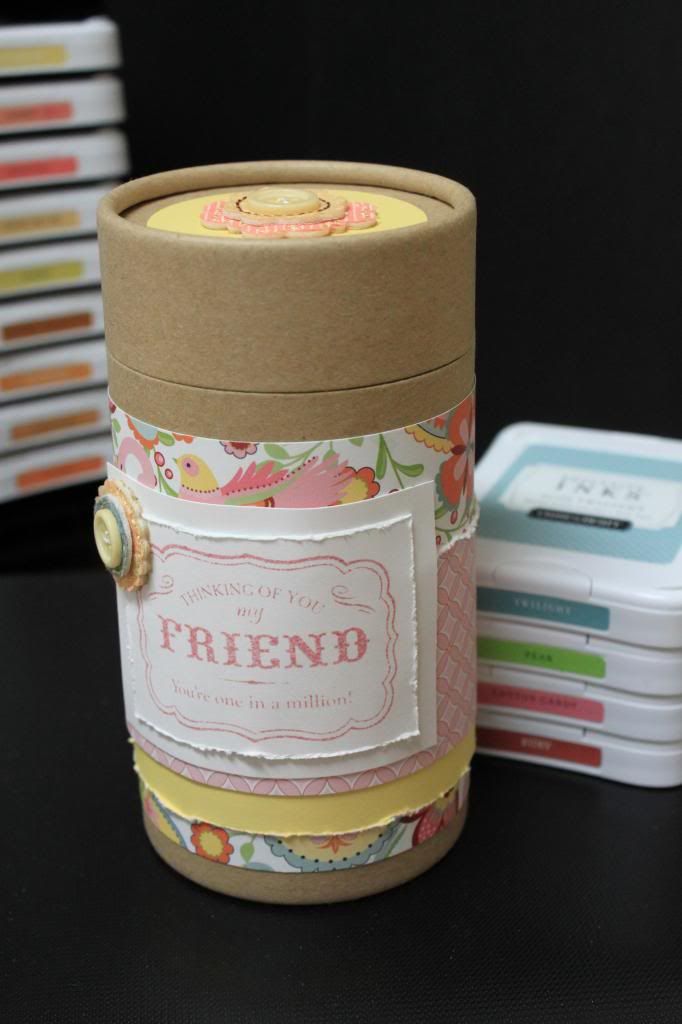
It is a sturdy little container that is just perfect for filling with goodies!  And I choose to use one of the new paper packs Chantilly to add some beautiful spring color.


The flowers are from the Cottage Assortment--which is still available.  ;)  Chantilly has SO many colors it matches just about anything!


If you're wondering, that delicious chocolate drizzled caramel corn is none other than Snackwell's snack packs.  It's super yummy!

I wasn't sure about the lighting so I took a few more pics in my office.


I can't wait to order some more of these containers--they will be great to have on hand for quick gifts!  Hope you enjoyed this project...and stay tuned for more new products!
Meredith

Supplies used:  all CTMH unless noted
Paper: Chantilly B&T, Buttercup CS, White Daisy CS
Stamp: For a Friend D1542
Ink: Ruby (second generation stamping)
Other:  My Creations Container, edge distressor, Cottage Assortment flowers, glue dots, circle punch 2 5/16 (The Paper Studio)

Tuesday, January 29, 2013

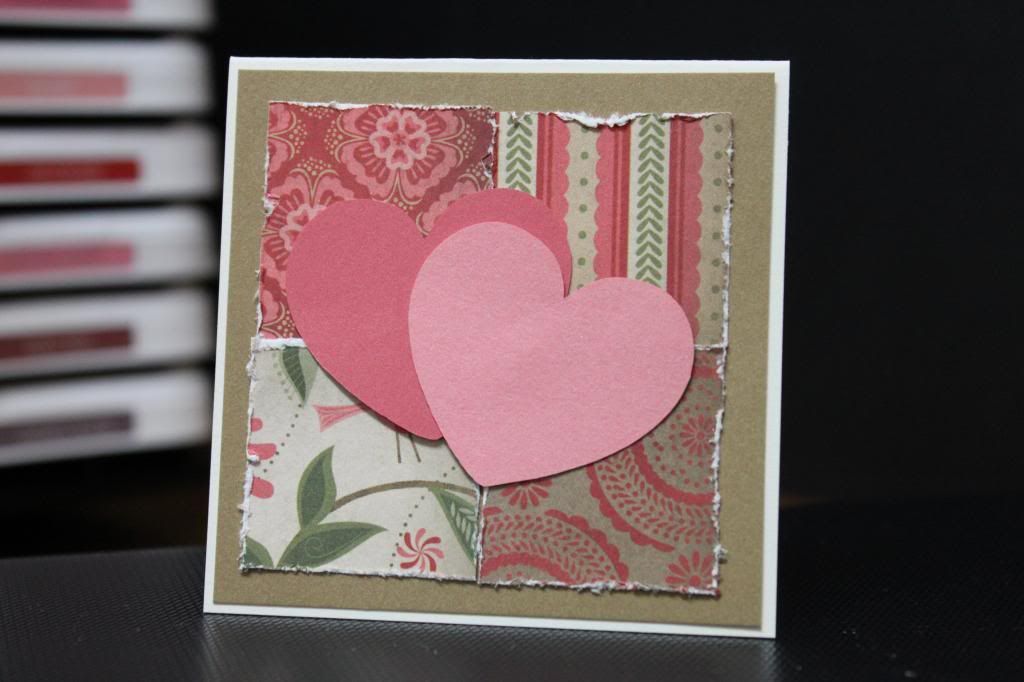
Small Square Valentine Card {Pear and Partridge}

Continuing with my Christmas paper as Valentine's theme, I created another little card.  I realized that several of the patterns in the Pear and Partridge papers work really well as Valentine's patterns!


This sweet little card is very simple.  I like the almost fabric-pieced look of it.

Hope you all are getting in the Valentine's spirit as well!
Meredith

Supplies Used:  all CTMH unless noted
Paper:  Pear and Partridge B&T, Desert Sand CS, Blush CS, Hollyhock CS, Colonial White CS
Other:  Edge Distressor, Cricut Artiste

Monday, January 28, 2013

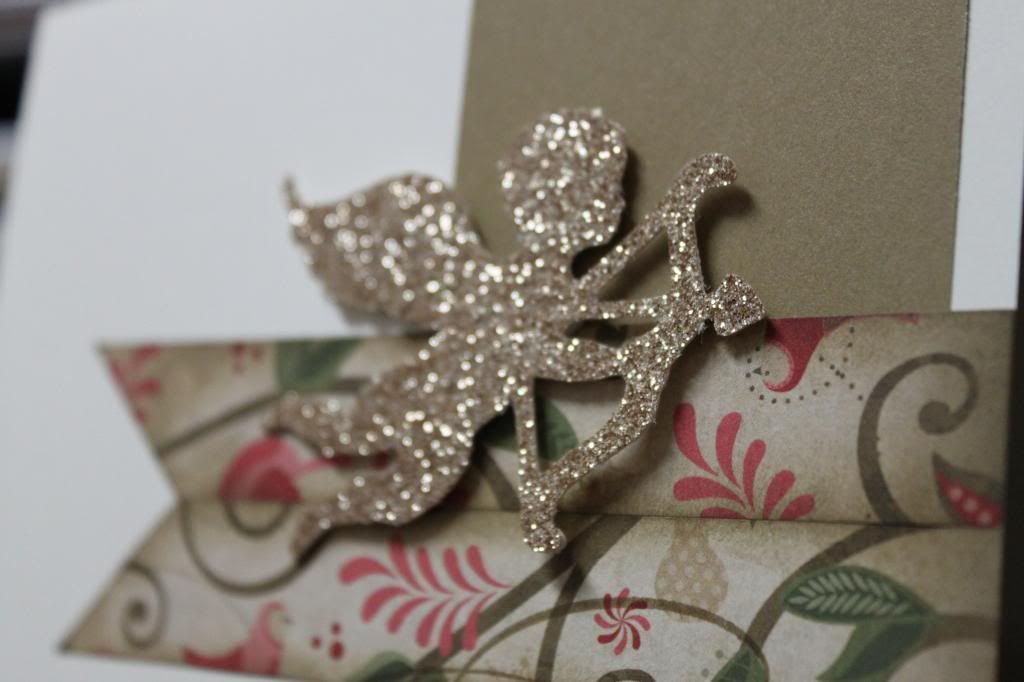
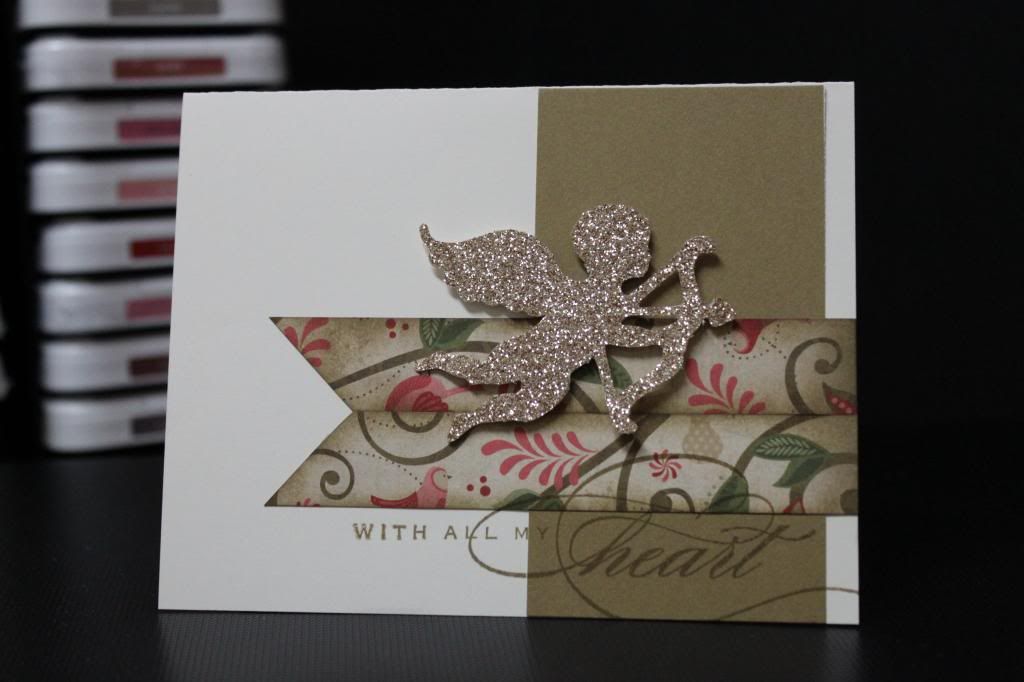
Glitter Cupid! {January SOTM}


Well I am definitely on the Valentine's kick.  And here is another card featuring the January Stamp of the Month "Happy Valentine's".

I also used the gold glitter paper again....this time for a cute little cupid!

And yes that is the Christmas paper, Pear and Partridge.  I inked the edges on these two pieces and placed them together to look like a ribbon banner.


Okay.  I really think this one might be my favorite.  :)
Meredith

Supplies used: all CTMH unless noted
Paper: Pear and Partridge B&T, Desert Sand CS, Colonial White CS Gold glitter CS
Ink: Desert Sand
Stamp: Happy Valentine's (JAN SOTM) 
Other: Cricut Artiste, sponge dauber, foam tape

Sunday, January 27, 2013

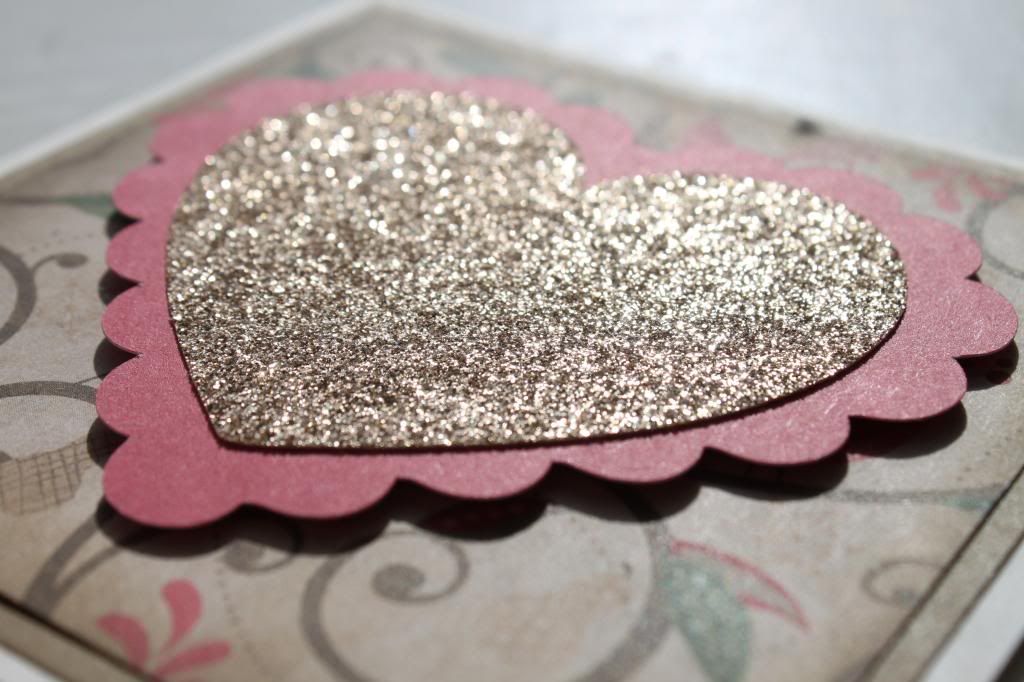
Christmas as Valentine's ??


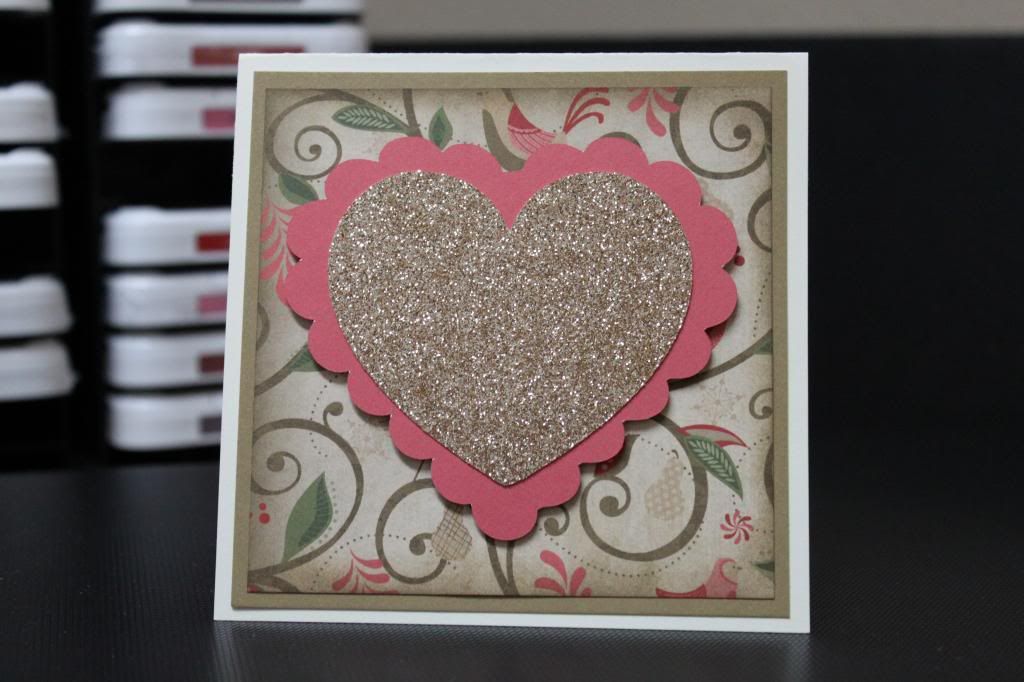
I was looking through my papers yesterday and noticed that the Pear and Partridge paper had lovely Valentine colors and I thought...why not?

And once I started working with it I realized that the gold glitter paper (NEW IN FEBRUARY) would work perfectly!!


I hope you enjoy this new take on another holiday paper!
Meredith

Supplies Used: all CTMH unless noted
Paper: Pear and Partridge B&T, Desert Sand CS, Colonial White CS, Hollyhock CS, Gold Glitter CS
Ink: Desert Sand
Other: Cricut Artiste, sponge dauber, foam tape

Saturday, January 26, 2013

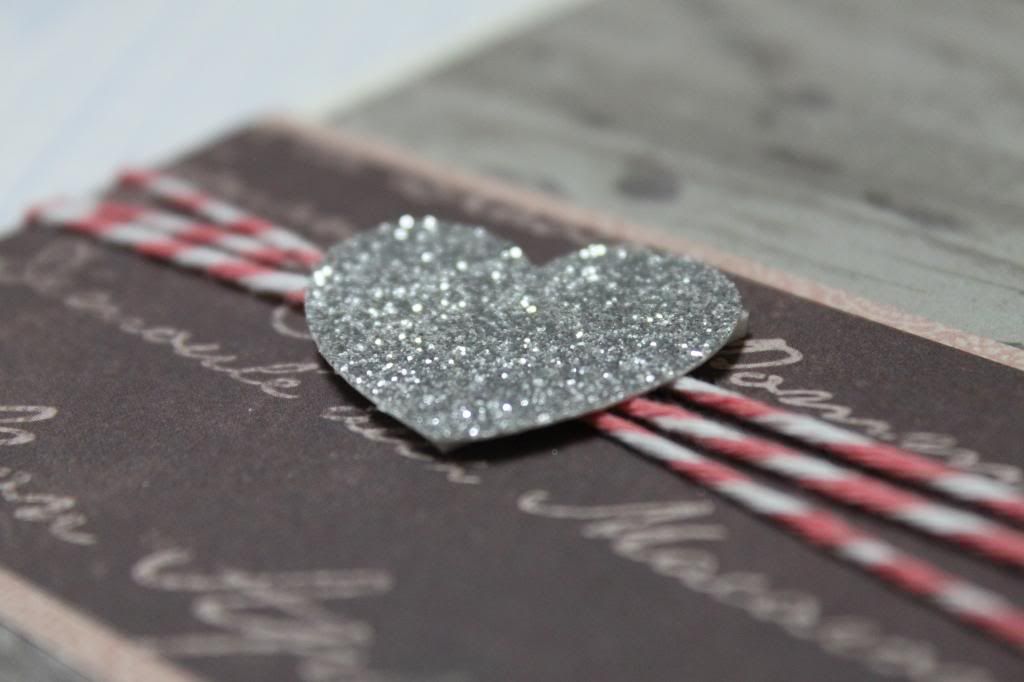
A Sweet Valentine Card

Last night I made a quick card to satisfy my craving for doing something creative!  The wreath and picture frame were not working out for me so I pushed them aside to make a card.


And I decided I wanted to mix some different paper packs.  This card is using the La Belle Vie and Dakota papers...


It came together pretty fast, but then it is pretty simple.

Hope you are having a great weekend!
Meredith

Supplies used: All CTMH unless noted
Paper: Colonial White CS, Dakota B&T, La Belle Vie B&T, Silver Glitter
Other: Cricut Artiste, Baker's Twine, foam tape, corner rounder


Tuesday, January 8, 2013

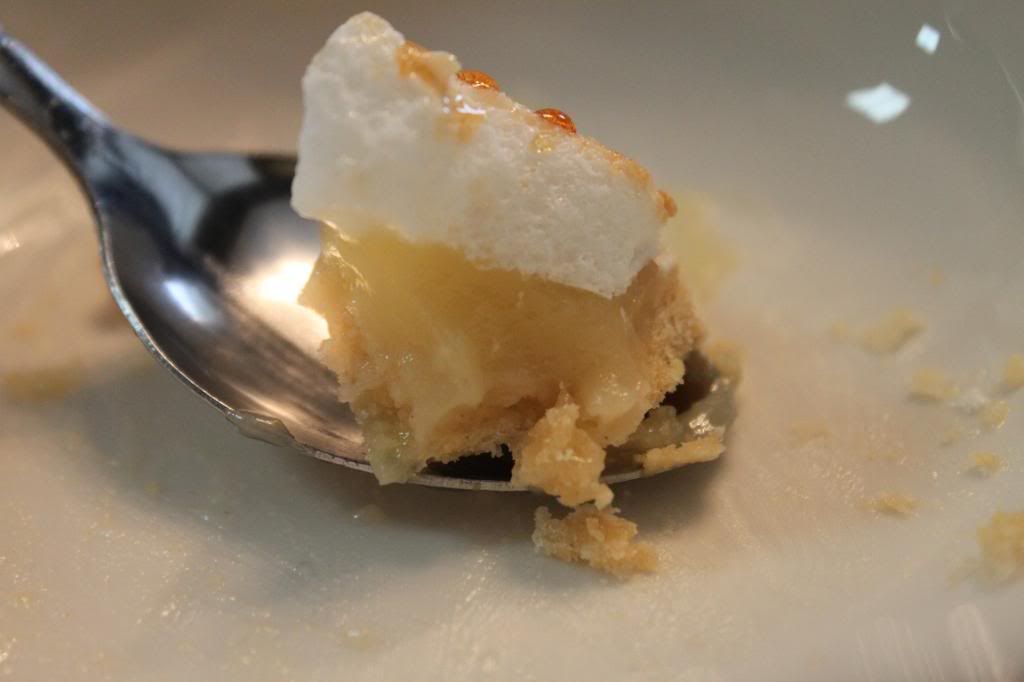
Lemon Meringue Pie!

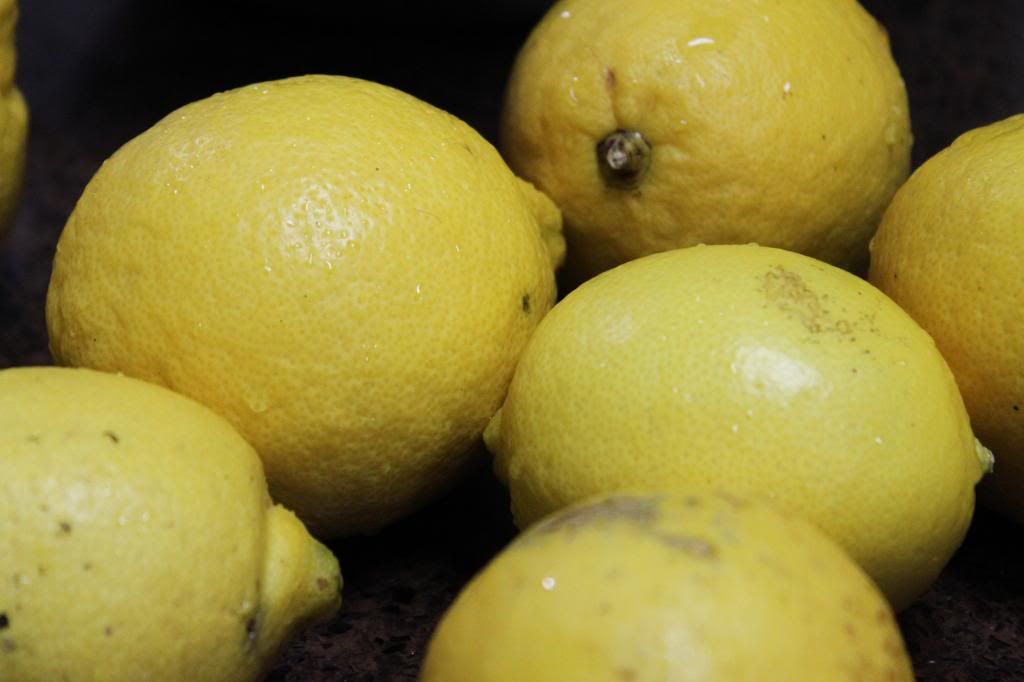
My dad makes THE best lemon meringue pies.  They are very tart and sweet.  And he grows his own lemons!

Well this weekend he brought a bounty of lemons (and oranges and grapefruit) to my house and then said, "Hey want to make some lemon pies?"


Sure I want you to make some lemon pies.  ;)

So he did.  And I happened to think--what a great scrapbook page this would make.  SO I quick grabbed my camera and starting snapping pictures. (Scrapbook page is not done, but I wanted to share the photos...)

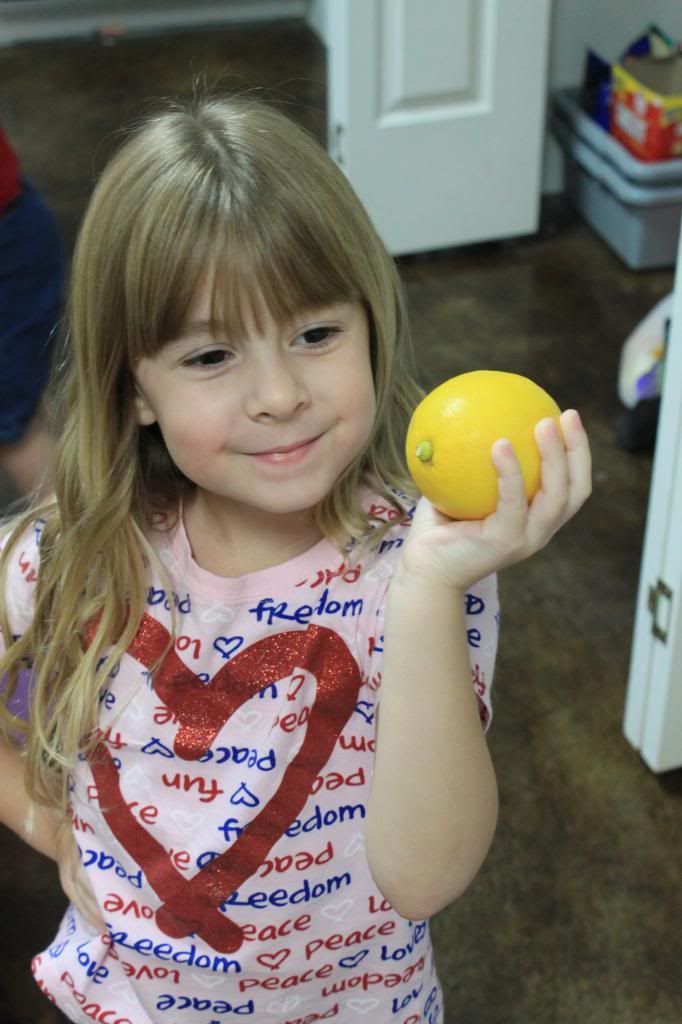
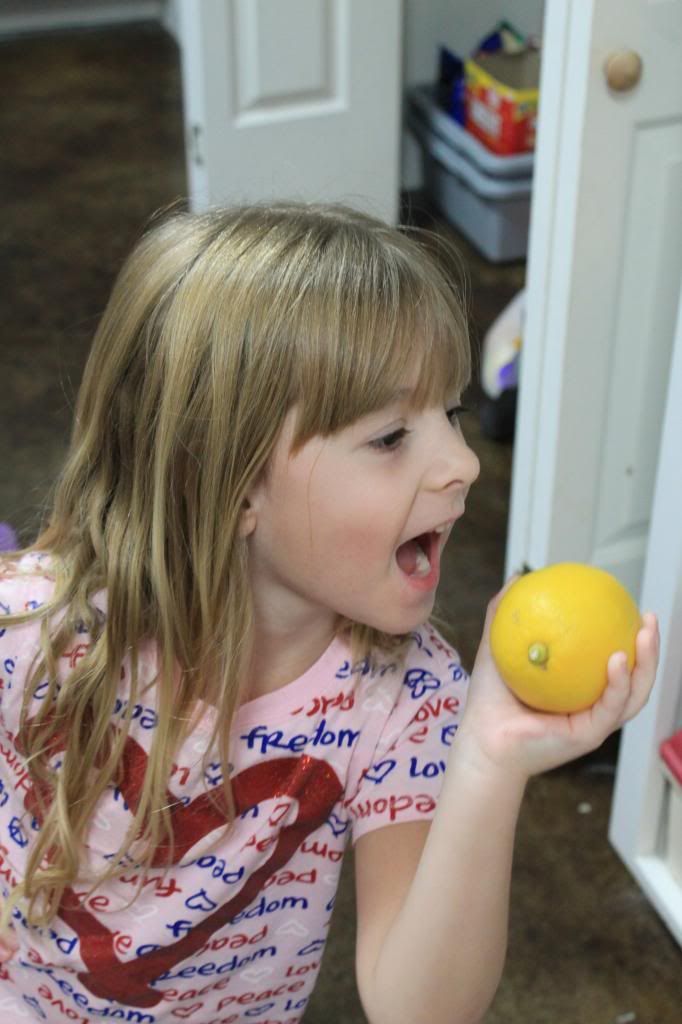
I have to say.  Mirielle followed us around all afternoon begging us to 'please can we make the lemon pies now?!!'


'Please can we make the pies now??'


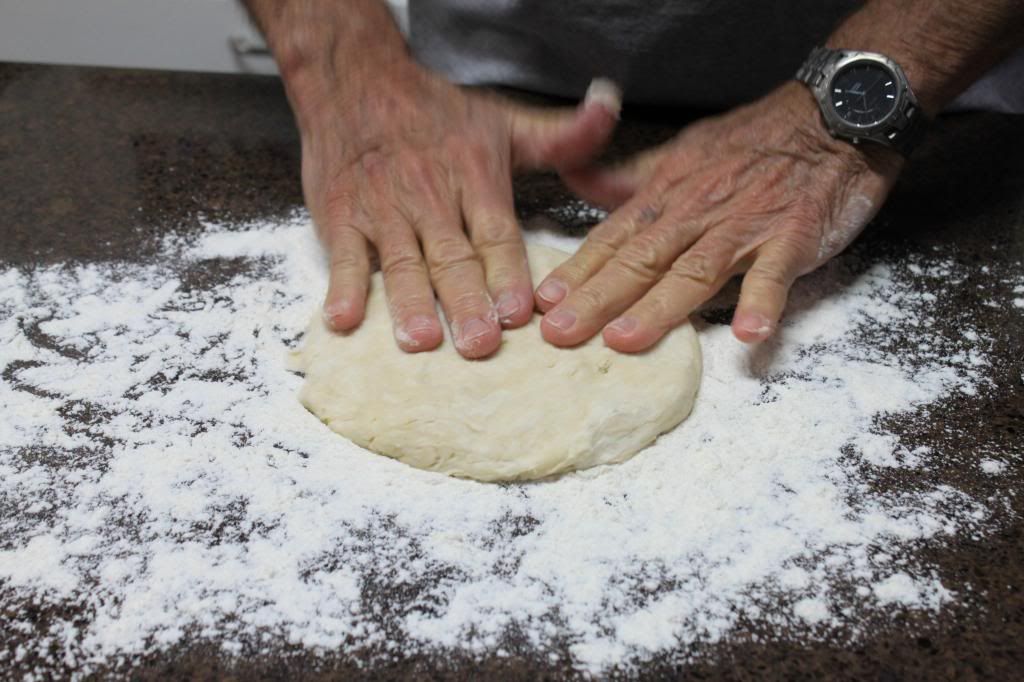
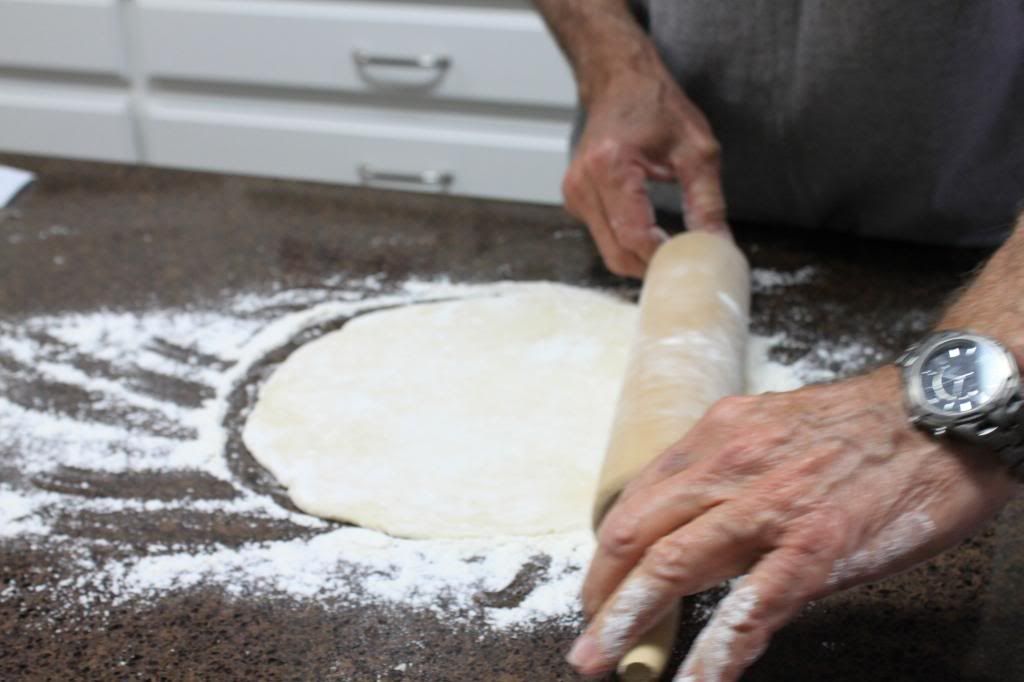
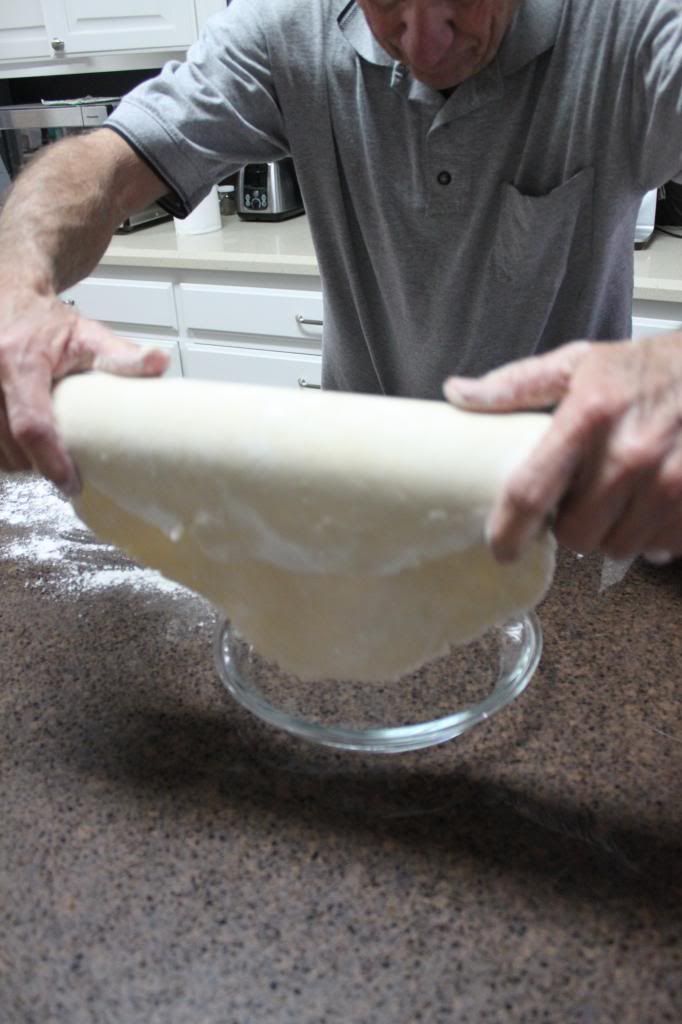
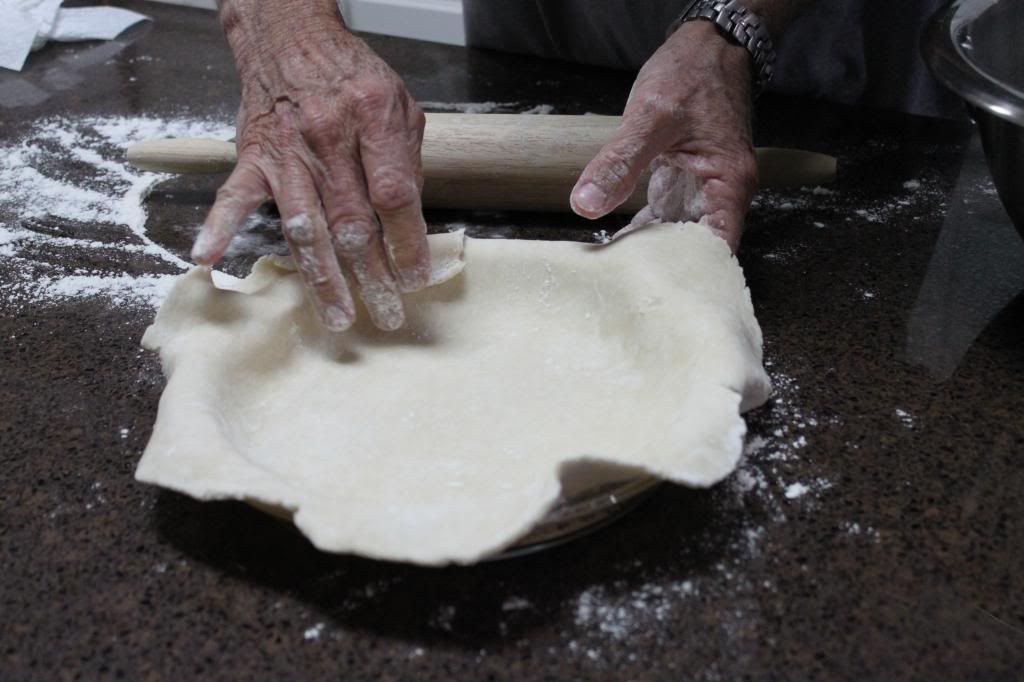
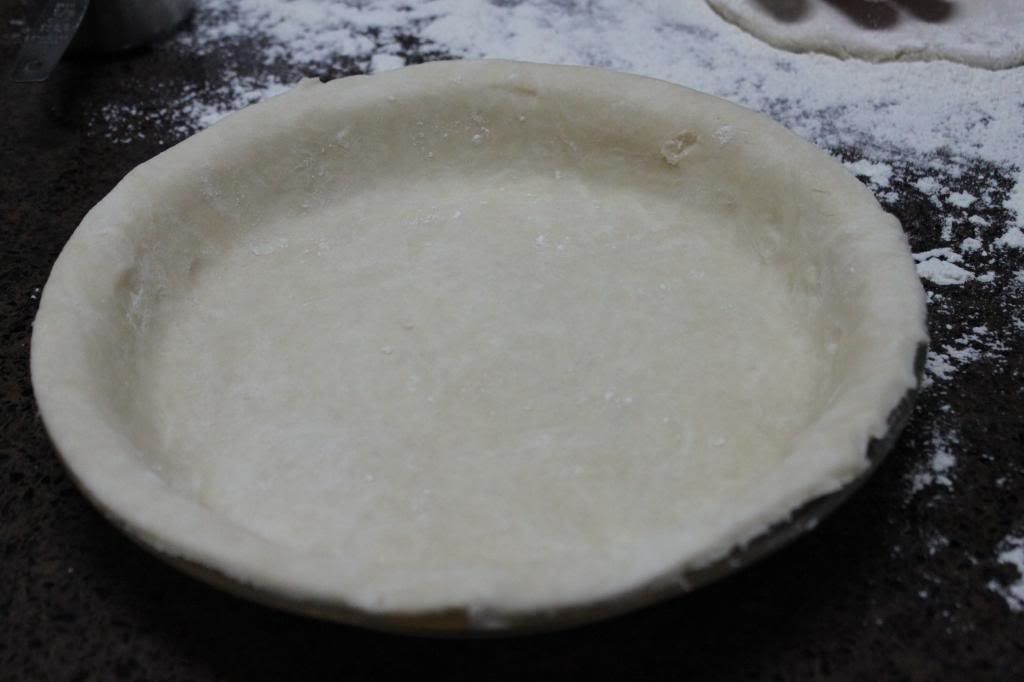
So we finally started and first comes the crust.  I took lots of pictures.  Mostly because I just wanted pictures of my dad's hands.  :)


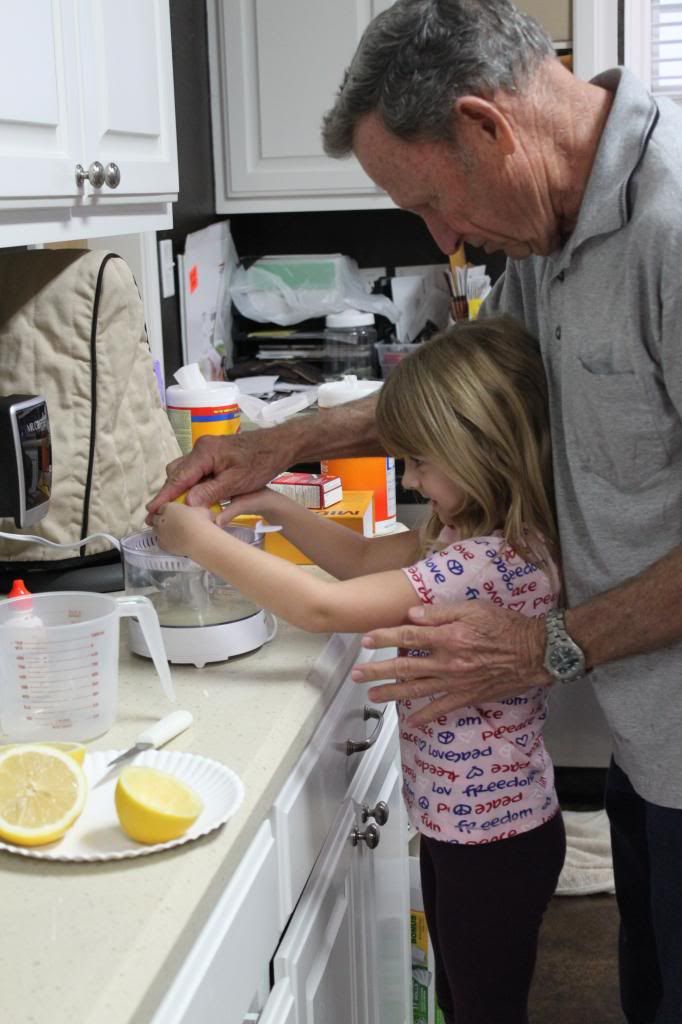
Okay and now came the FUN part.  Squeezing the lemon juice.  Mirielle was in heaven!  Dad said to her "push on that lemon like you own it."  And she gritted her teeth with a huge smile on her face and said "I do own it!"   I laughed so hard!


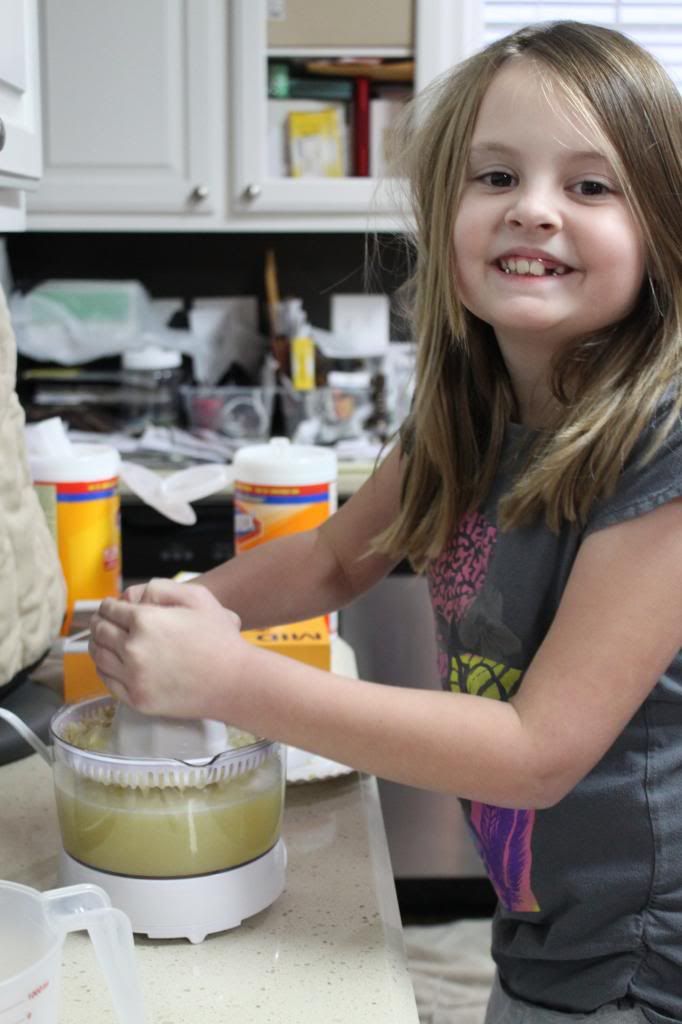
Delaney got in on the action too!


Then we baked the crusts.


Then there was some mixing, whipping, cooking, stirring, and baking again and then next thing I know....


Sorry there was a LOT going on and I lapsed on the picture taking.  :)  If someone wants the recipe you can ask for it in the comments and I'll post it.

Hope you all are having a good week!
Meredith

Friday, January 4, 2013

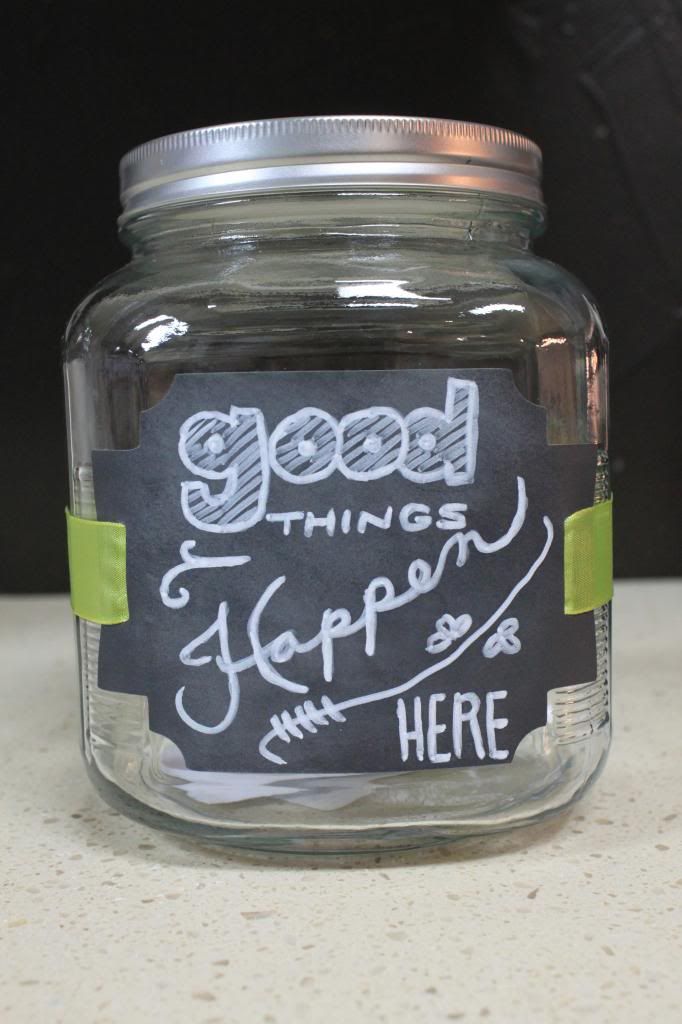
Good Thing Happen Here {Smile Jar}

It's amazing what you can get accomplished when your family is healthy!  First the laundry room re-do.  Now crafting?!?

I saw an idea someone else had to make a jar where you can add slips of paper all year.  On these slips your family writes the good things that happen to them or things that make them happy.  And then on New Years you pull them all out and read them.  I just love that idea.

And I just happen to have a beautiful glass jar.  But it needed some decorating.  Thank goodness I had a few Close To My Heart supplies on hand...

First I have to say that I was very intimidated to try my hand at the whole chalkboard font craze.  But I practiced first on paper with a pen.

I used my Art Philosophy cartridge to cut the label shape from the Chalkboard adhesive backed paper.  LOVE that stuff.

I wrote several practice times on the label with actual chalk because then you can just rub it off with a tissue.  But it gave me an idea of placement and also made the paper look like an actual chalkboard!!

What do you think??


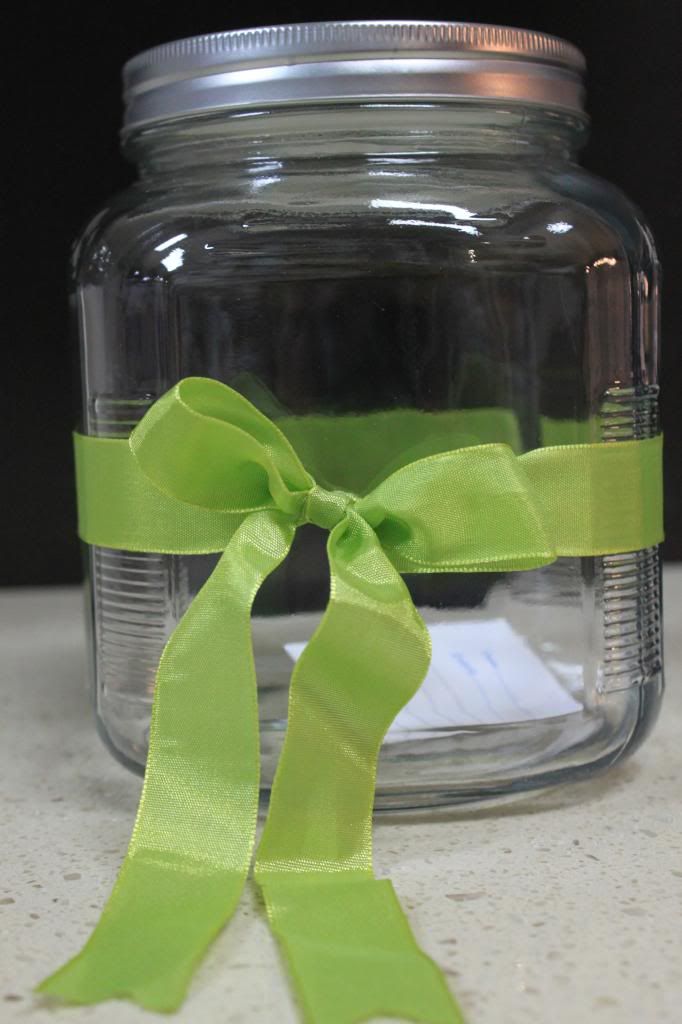
It makes me happy!  And look at her cute little apple green ribbon!  That was from my stash (my sweet sister in law gives the most beautifully wrapped Christmas presents-wink)


And of course this little lady would not be complete without a sweet little bow.


Do you see the first note of the year in there??  It just might have something to do with those lovely shelves my husband installed in the laundry room this week!  ;)

Have a great weekend!
Meredith

All supplies CTMH unless notes:
Cricut Art Philosophy, Chalkboard paper, Chalk marker, green ribbon (Lindsay), jar (Walmart)

Thursday, January 3, 2013

Laundry Room Re-Do

Way back when I started this blog I think I mentioned I might do some room makeovers.  Well today I am going to bravely share my laundry room makeover.

We have lived in this house over three years.  We built it.  It's our dream home.  It's where we want to live forever and ever.  :)

So since we had to move in before it was totally and completely finished to dream home status....some things need improving.  Like the laundry room.

Our laundry room was not very functional for me.  Not only did it house our washer, dryer, laundry hampers and piles (hehehe) it also had an upright freezer.  Well as if that wasn't enough, we got a new HE washer and dryer a while back and it was even bigger, plus--as much as I LOVE them--they were taller which meant I lost my 'folding clothes' space.  But one of the very worst problems was that the only place I had to hang clothes hangers was on the laundry sink.  And as you will see from the pictures that bumped right up against my, ahem, behind as I tried to work with the clothes.

Ready to start the tour?

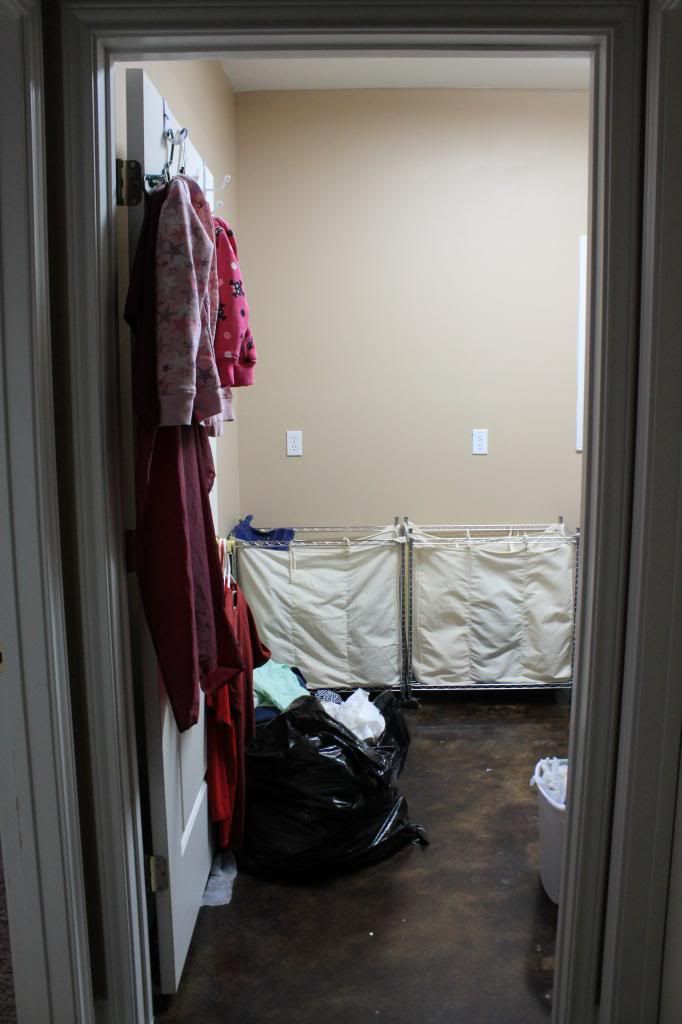
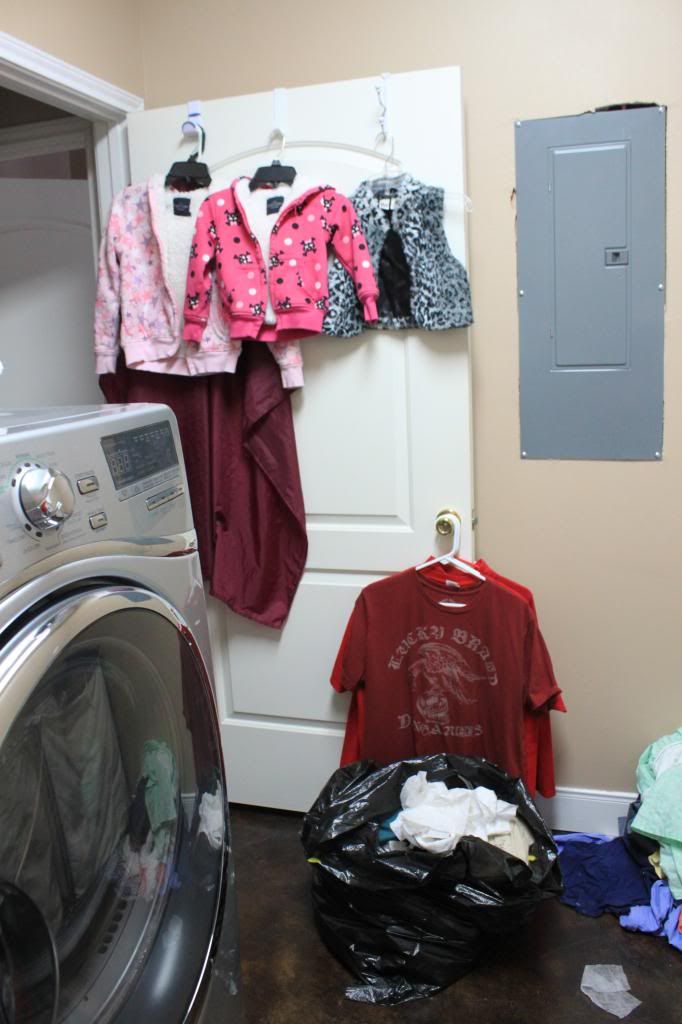
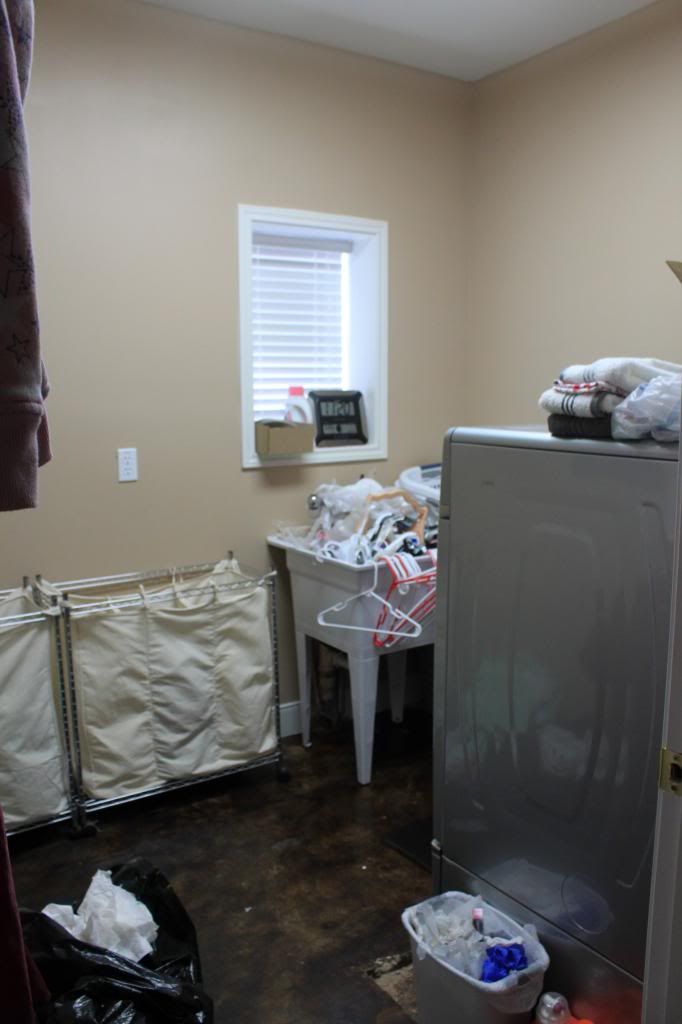
This is the door into the laundry room.  Actually at this point we have already removed the freezer.    Prior to that you would have been staring at the door to the freezer against that wall.  And those two rolling hampers used to be side by side between the freezer and the sink.  (Incidentally, that trash bag was there just because I was doing cleanup....)  You'll notice though with no place to hang clothes I would have to use those hangers on the door and the door knob AND the freezer handle, that's gone now....


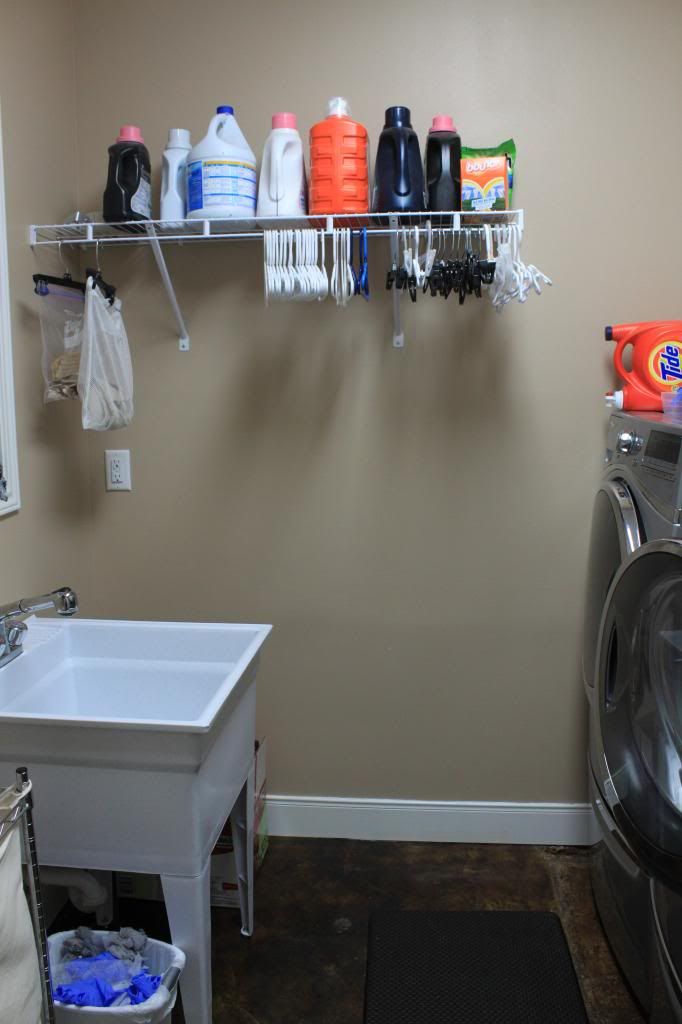
Okay moving into the room, here is a view of the laundry sink (filled with soaps, hangers, dust, dust, dust....and clothespins)


As you can tell.  I was in dire need of shelves and clothes rods!  And here we have piles...I wish I could say those have only been there a couple of days.  HA!


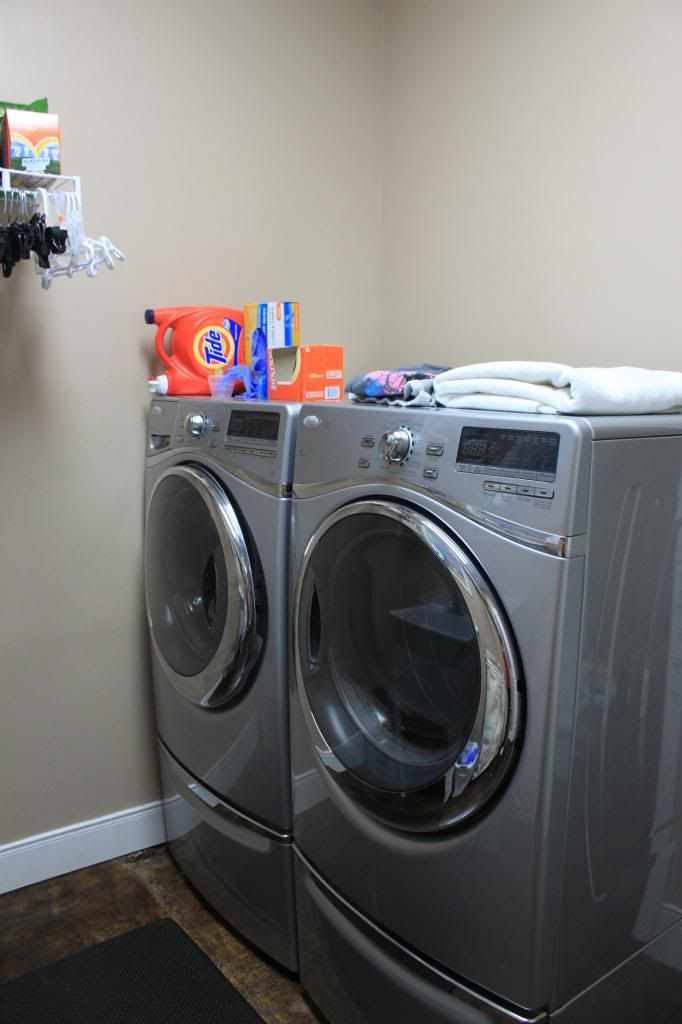
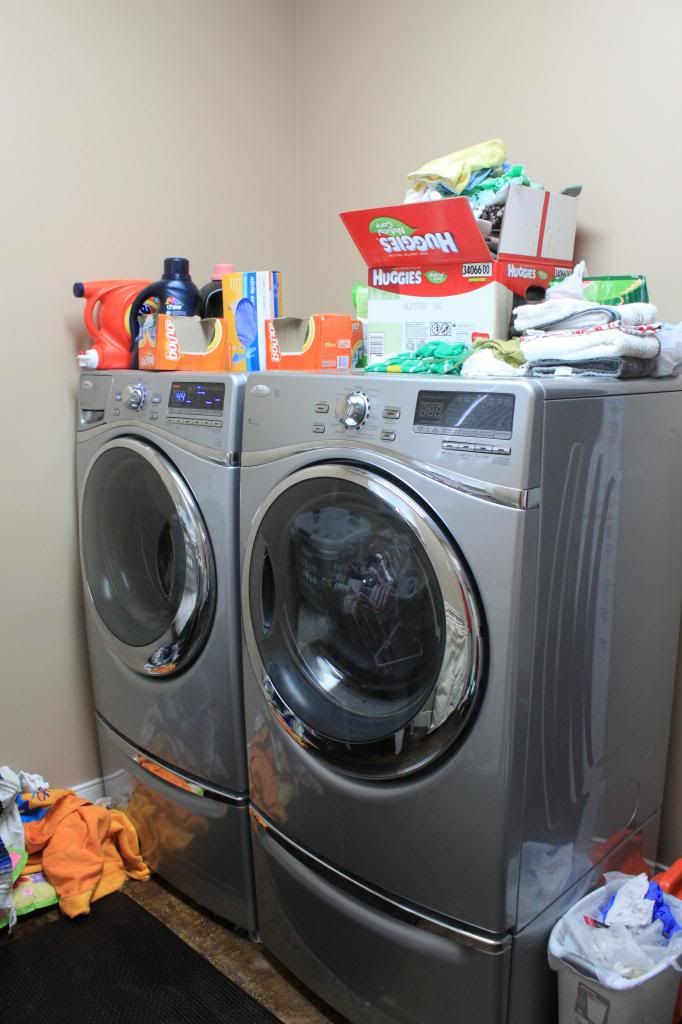
Ick.  But let's not dwell on that!  Here is my beautiful washer and dryer!  Does HUGE loads in a single bound!!  And as you can tell--has to hold folded clothes as well.


Have you seen enough?  How about one parting shot just to remind you that there was NO place to hang clothes.  At all.  (In case you're wondering that Huggie box is where I put clothes after I wash them that are giveaway.)


Man.  That was sad.  But let's move on to the positive!

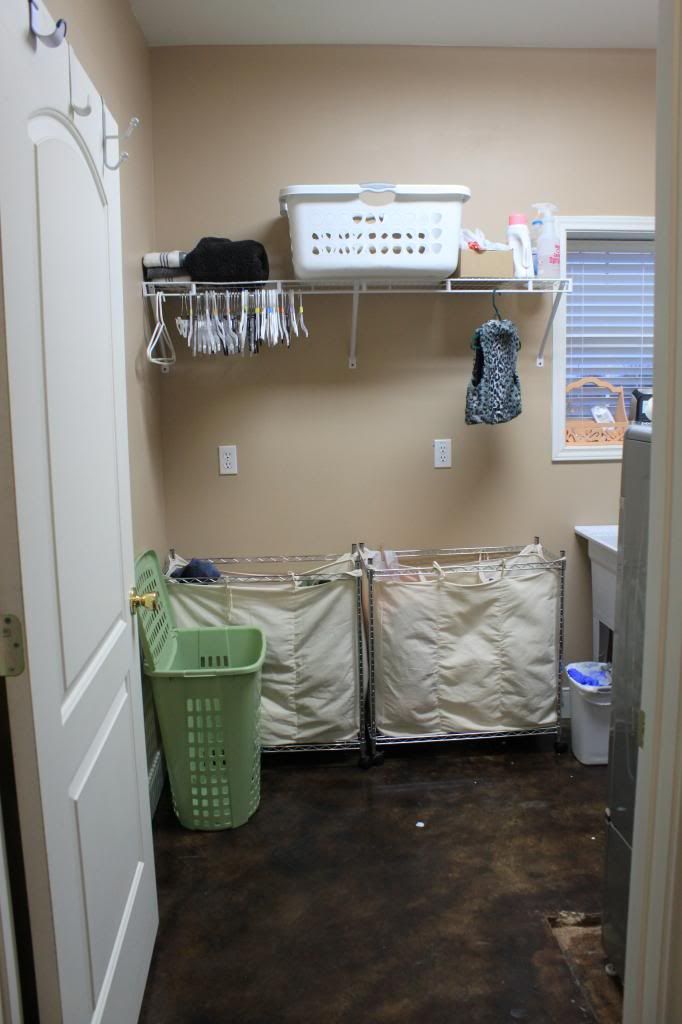
Ta-dah!


Sigh.  Did you see that?  Floor space.  And hangers.  Hanging.  How about that abominable sink fiasco??


Wait...what?  There really was a sink in there.  Hmm.  That's handy in a laundry room.  Anyway.  Shall we take a look at pile central?


Hint: that is the part where you should have heard angels singing.  :)

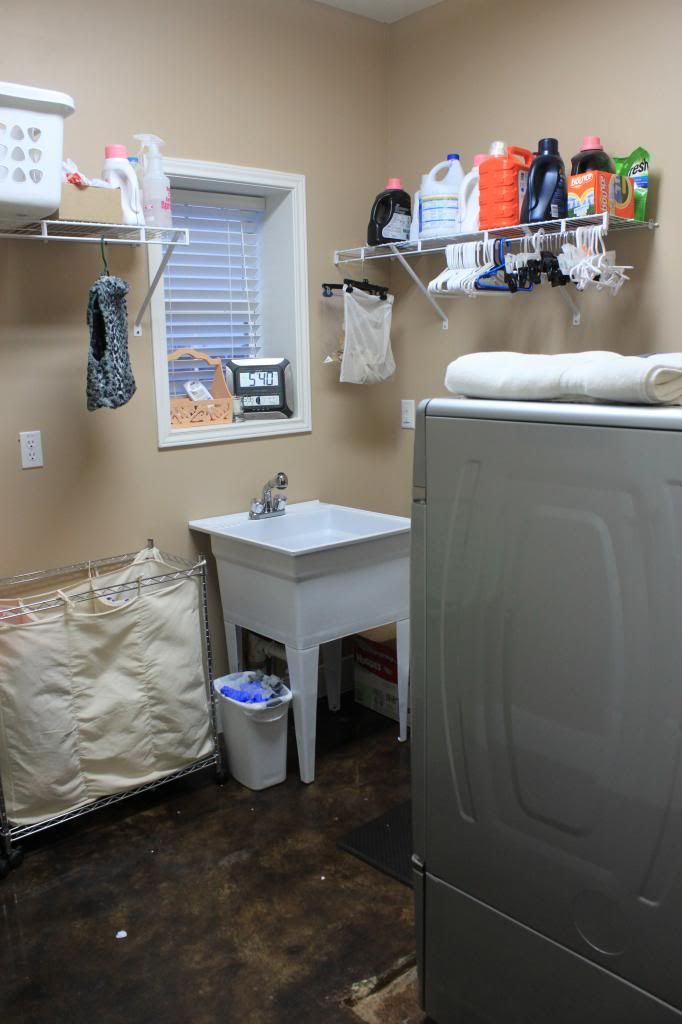
This shot doesn't look much different from before because, well, my washer and dryer are still my countertop.


And here's the door sans articles of clothing.


I still need some type of counter top.  I am talking with my Dad about some type of fold down table over the hampers that can be put up when not in use.

Ahh.  I know it's not one of those beautiful laundry rooms you see on Pinterest with the vinyl words and soap in glass jars, but I like it.  In fact, I walked around the house all day looking for dirty laundry to wash.  Truth.

Hope you all are having a lovely start to your new year!
Meredith
Thursday, November 22, 2012

Thanksgiving Nails

Well I know it's been such a long time since I posted, but we've had some unexpected things happen.  Both of my daughters did stents in the hospital with respiratory illnesses.  And while that was going on my mom had a biopsy that revealed uterine cancer.  Fortunately, the girls are doing well and my mom found out that most likely she will only need surgery to cure her cancer.
But I've had to take time away from hobbies and focus on getting my loved ones well.  I still have some work to do with that, but mom and I still find time to paint our nails.  And today we celebrated Thanksgiving--we have much to be thankful for this year--with some nail polishing!
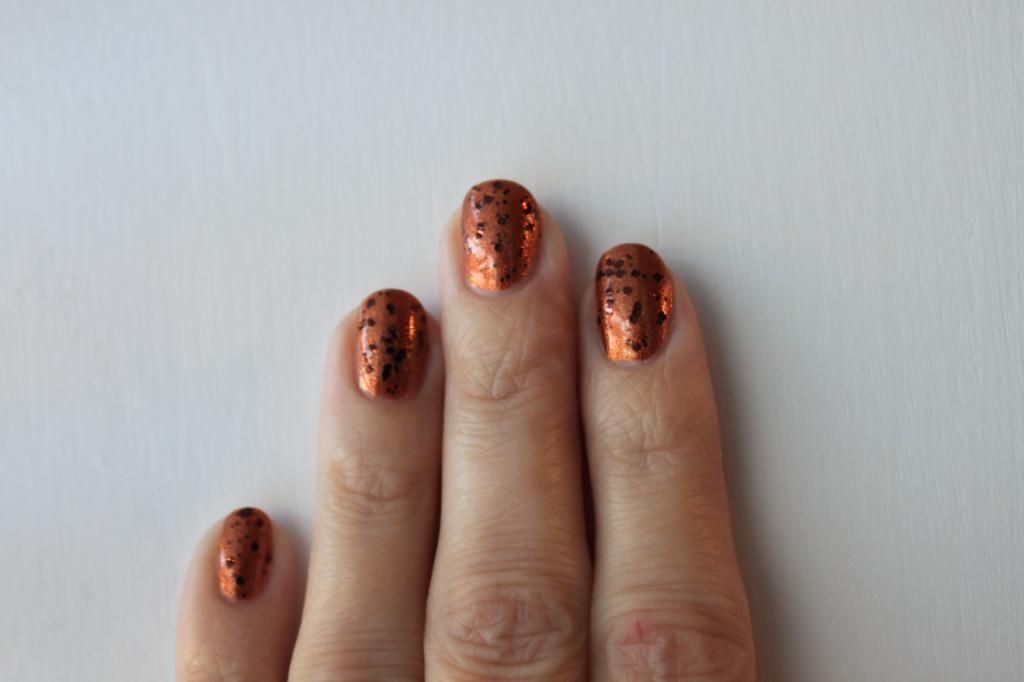
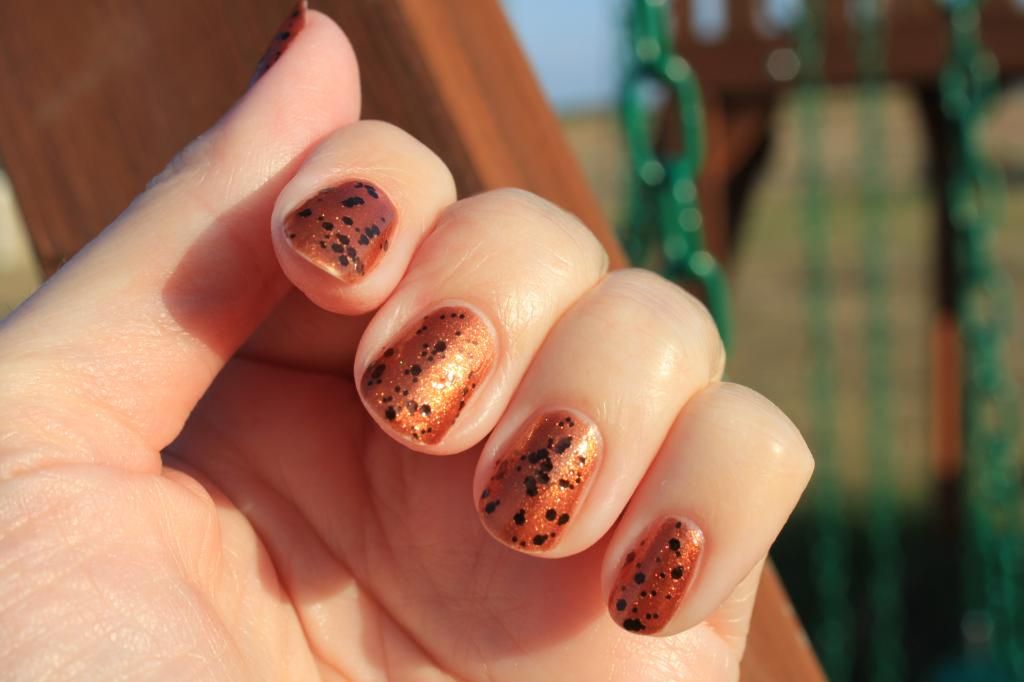
Here's what I'm wearing today:

Ooops wish I could show you. Guess my google album is full.  Not sure what I'll do about that.  Out for now--

Hmm.  Someone suggested I use Photobucket.  So here goes...


Huh.  It worked.  Here's another view...


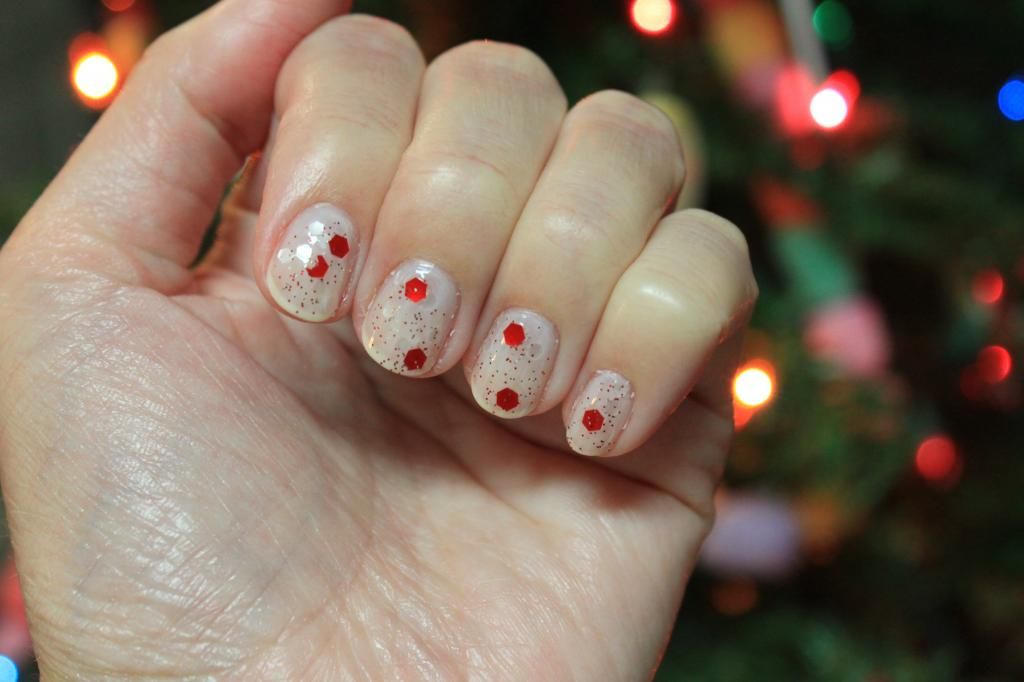
Hey while I'm at it here are some Christmas nails.  Whimsical Ideas by Pam in Peppermint Schtick over Essie's Marshmallow.

Cutie cute right?

I must go--but I am super excited to be able to add pictures again!!

Friday, October 12, 2012

October Workshop

Well, last month's workshop went well.  It was so much fun!  Here is what we're doing this month...

It's a mini (3x3) card set with envelopes.


It features La Belle Vie papers, a few techniques and a little sparkle thrown in for good measure.  Each packet will be $10 and have a few leftovers to take home!

What do you think?  Does it look like fun?  Feel free to contact me for more details or if you have any questions.

Meredith