Thursday, June 5, 2014

Mini Stamp Thank You

I had one more teacher thank you card to make.  I have to say this "Thank You" mini stamp is so handy!  It's easy to read and you can even stamp it on patterned paper.

I used Skylark papers again and some adhesive pearls.


I hope you all are enjoying the beginning of a lovely and relaxing summer season!

Meredith

Sunday, June 1, 2014

Teacher Thank You Cards

Hello!

Today I made two cards for my daughter's teachers.  I always like to do an end-of-year gift and write a note to let them know how much I've appreciated them.  We have been so blessed to have had amazing teachers every year.  I hope that continues!

This first card uses the lovely Skylark papers.  Again and again I find myself so happy that Close To My Heart has everything coordinated.  It makes creating so much faster and easier!!


I always lean towards simple designs, but I do love to add a little extra now and then...like the tiny pearls in this card.


Thanks for stopping by!

Meredith

Supplies Used: All CTMH unless noted
Paper: Skylark (X7177B) Balloon Ride (X7180B)
Stamps:  A True Thank You (M1029) Feathers (C1584) Give a Lift (D1581)
Ink: Lagoon, Sweet Leaf, Juniper, Chocolate, Sorbet
Other:  Washi tape, self adhesive pearls, foam tape, corner punches

Monday, March 17, 2014

Artbooking Made Easy: Trailblazing Travel Albums


Found this great video from Close To My Heart about the Artbooking cartridge and had to share it!


Hope you enjoy it!  If you would like to purchase your own cartidge just click on this link:

Artbooking 

Thanks for stopping by!
Meredith

Monday, December 2, 2013

Frosted Christmas Cards

It seems that the more I create the more I want to create!!

Here are the latest four cards I made using the lovely Frosted papers.


Thanks for stopping by! Also TODAY ONLY, if you spend $50 in Close To My Heart products with me, I will send you a FREE ink pad of your choice!
Meredith

Supplies all CTMH unless noted
Paper:  Frosted B&T and CS
Ink: Twilight, Ruby, Desert Sand, Chocolate
Stamps:  Merry and Bright (C1510) Pear and Partridge Card WS (C1525)
Other: washi tape, striped ribbon, sparkles, pearls, cream ribbon (from my stash) Glitz Glitter Gel almond

Friday, November 29, 2013

Dear Santa

I organized my scrap room (again) and that always puts me in the creative mood.  I love the Frosted papers from CTMH but I decided to add a red color in.  And the papers feel vintage to me so I went through my stamps to come up with a style that would match.

Here's the result (with sparkle and washi thrown in).


If you go to my facebook page (link HERE) you can like my page and share the photo to be entered to win the card set!  Contest ends tonight at midnight!

Thanks for stopping by!
Meredith

Supplies Used all CTMH unless noted:
Paper: Frosted, Ruby CS, Colonial White CS, Brown Glitter CS
Ink: Ruby, Desert Sand
Stamps:  Merry and Bright (C1510) Christmas Delights (D1518)
Other: washi tape (from Holidays From the Heart Guide), antique copper brads, sponge dauber


Monday, November 18, 2013

Bicycle Birthday

I saw THIS on Pinterest and fell in love with it.  So I knew I had to recreate it for a birthday card.


What do you think?  Kind of sweet.

I used stamps for the bike and hearts, some of the inks are second generation.  And I used a black ink pen to draw the strings.

Thanks for stopping by!
Meredith

Supplies:  all CTMH unless noted
Stamps: It's Your Day (CC1020)
Ink: Black, Lagoon, Gypsy, Buttercup, Pear, Cotton Candy
Other:  Papermate ball point, white card blank

Friday, November 15, 2013

Sending Love

I finally this week had a second to make a few cards.  I needed a birthday card and a baby shower card.  And then with the scraps left on my desk I came up with the other card just because I wanted to use the paper packs together.  :)

Here's the card for the baby boy shower.


I love the mustache stamp.  And those prim little buttons of stickers from the Huntington Assortment.

Next up is my combo card.  I got to use the new Lifting Spirits stamp set.  Only available through the Holidays From The Heart gift guide.


Click on the pictures to enlarge them to see details.  I just love the shimmer trim!

Thanks for stopping by!
Meredith

Supplies Used: all CTMH unless noted

Mustache Card:
Paper: Desert Ssand CS, Huntington
Ink:  Black
Stamp: Perfect Fit-Dad
Other: Huntington Assortment

Sending Love Card:
Paper: Huntington, Buttercup CS, Chantilly, White CS
Stamp Set: Lifting Spirits (C1570)
Ink: Cranberry
Other: Red Shimmer Trim

Monday, September 2, 2013

Monster High Layout using Laughing Lola

When my daughter first saw the Laughing Lola papers she immediately said "Ohhh they look like Monster High!"  So of course I had to do a layout featuring her love of Monster High that dominated her second grade year.


She had a Monster High backpack, a Monster High Birthday party, and of course all the Monster High merchandise one could want.  The layout is simple because for me it's hard to add so many pictures to a two page layout....and I couldn't just leave any of them out!

I used the new Artbooking Cricut Cartridge to make a cute little bow frame.


And the sparkling Laughing Lola accessories make it easy to embellish.


This second page features pictures from the morning of her birthday (her Frankie doll gift) and also pictures of her party.


Love the sparkles!


And I guess it is about time I got this layout finished considering she just started third grade and her next birthday is days away!!

Have a great week!
Meredith

Supplies Used: all CTMH unless noted
Paper: Laughing Lola B&T and CS
Stamps: Varsity Alphabet (E1023)
Ink: Black
Other: Laughing Lola Compliments DE, Laughing Lola Assortment, Artbooking

Saturday, August 10, 2013

Home 6x6 Canvas

Here is one of the little 6x6 canvases from Close To My Heart.  These are so versatile!  You can do an individual one or use them to spell out a word, or group a square of them together to make a larger display.

I choose to feature the new Huntington papers.  There warm colors work beautifully with the cream of the canvas.


And the little owls and tree branch are cut from the new Artbooking cartridge.  I also used the Huntington Assortments to finish out the look.  Here's a detail of the little leaves cut from the B&T paper of the pack.


What a sweet little way to make your home festive this fall.  Thanks for stopping by!
Meredith

Supplies: All CTMH unless noted
Paper: Barn Red CS, Colonial White CS, Huntington B&T
Ink: Olive, Barn Red (pigment)
Stamps: Home Sweet Home (S1302)
Other: Hunting Stickese and Huntington Assortment, green buttons, Liquid Glass, brown sparkles

Friday, August 9, 2013

Big Boy 12x12 Layout

This summer I have the amazing chance to spend some quality time in my hometown with my parents.  My kiddos loved the beach, riding around in Pawpaw's golf cart and drinking milkshakes almost every night!

But one thing I will always remember is that it is the summer that my three year old son gave up his "bah" otherwise known as a pacifier.  It was a little rough at first, but not nearly as bad as I thought it would be.  He's a big boy for sure now.  But when I watch him sleep I still think of him as my baby.

One morning I sneaked into his room and took this picture of the morning sun falling in over him before he woke.  I love love love it.  It will always remind me of the sweet mornings of this summer where we were lazy and relaxed.  I thought and thought about how to capture that feeling with the layout and decided to make it a simple one page affair with soft relaxing colors to compliment the colors of the photo.


The note pages are cut using the new Artbooking cartridge.  I attached the top on only at the bottom so you can lift it to see the hidden journaling.  I added staples as the only other accessories.  The star cutout is from Artbooking also.

This is definitely one of my favorite LOs.  Could have something to do with that little cutie sleeping there...

Meredith

Supplies Used: all CTMH unless noted
Paper:  Sky CS, Pacifica CS, White Daisy CS
Ink: Pear, Pacifica, Gypsy
Stamps: Framework Alphabet (E1027) Take Note Cricut Bundle (D1574)
Other: Cricut Artbooking Cartridge, staples

Thursday, August 8, 2013

Work the Workshop Canvas

Last month I ordered the CTMH canvas special.  And then I had the chance to play around with it this last week.

It was a little intimidating at first.  I always have that moment of 'but I only have one what if I screw it up??' Then I get over it and start working :)

So I started out following the layout of the workshop guide, but as usual I decided to move it around and add my own bling to it and before long, I'm not even sure it resembles the original design.  haha


This is a picture of my beautiful daughter at the beach.  She wanted to show me this tiny shell she had, but I focused on her beautiful face instead.


This detail is to show the dimension.  I add my CTMH burlap ribbon to the canvas to give it a more beachy feel.


Sometimes when you punch chipboard shapes out (like these frames) they can have little bumps or tags of chipboard on them.  It is easy to use your sanding block to remove them and then in this case I added the pop of Lagoon Pigment ink to the edges.

I was happy with the final results.  Hope you enjoyed it too!  Have a great weekend and check back I have three more posts coming up with some layouts and new products!

Meredith

Monday, June 10, 2013

Some Polka Dot and Gingham "Pinspiration"

One of my favorite Pinterest boards is my Color Inspiration and Fonts board.  I love to just look through it to get ideas for cards.

The other day I saw THIS pin and wanted to make a card that used the colors and patterns in this photo.  I had the idea to use CTMH Sky blue cardstock and run in through the Cuttlebug swiss dot folder then sand it to show the white core....bingo instant polka dot!


I decided to use pink in the ribbon and some deep red roses.  What do you think?  Was this a successful pinspiration??  :)

Meredith

Supplies used:  all CTMH unless noted
Paper: Sky CS, White Daisy CS
Ink: Cranberry (first and second generation) Pear, Sky
Stamps: Cricut Artiste Collection Word Balloons (D1531), Floral Happiness (S1303)
Other:  Micro Tip Scissors, gingham ribbon (Hobby Lobby), edge distressor, foam tape, sanding block

Monday, May 20, 2013

Stamp Organization!!

I finally (after being a stamper for 10 plus years) have organized my stamps!!

This is monumental! LOL

I don't know how exactly I came up with the method for organizing my stamps.  I am sure that over the years I heard suggestions from other consultants or people on the web--even before there was Pinterest.  So I'm not trying to take credit for this method.  I'm sure someone else thought of it first!

I based this organization method on how I wanted to use and access my stamps.  I wanted to be able to see the stamp images all in one place and then be able to quickly locate that stamp set.  My "before" method involved just flipping through ALL my stamps to find one.  Talk about time consuming.  PLUS I could never have remembered all the sentiments and words I have or which set they were on.

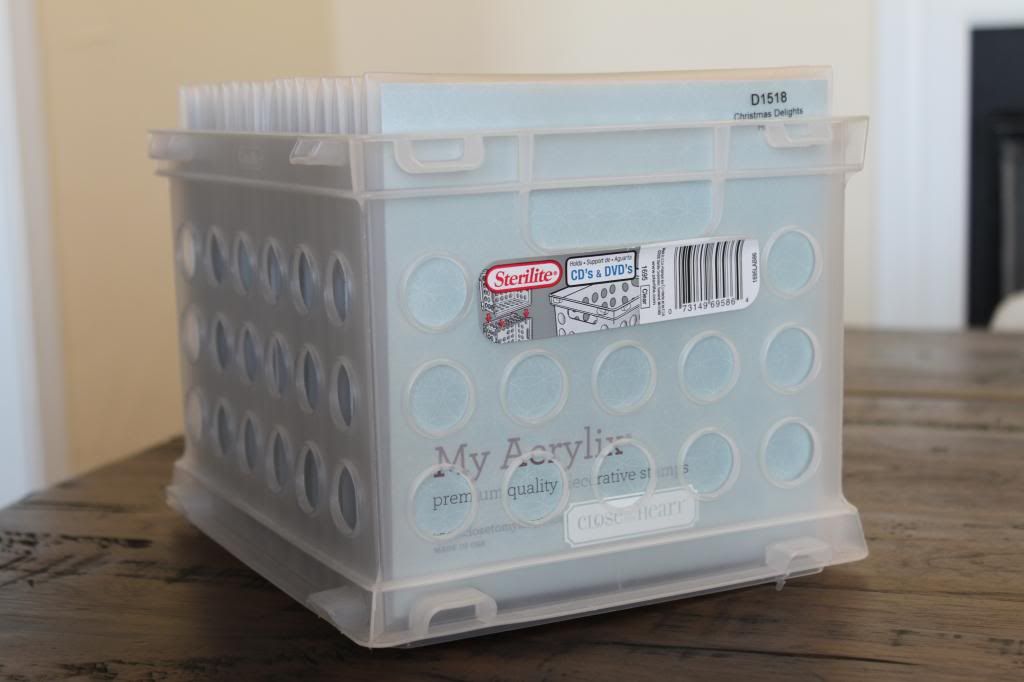
First off let's see what the "before" looked like.


Before I was using the CD/DVD storage boxes from Sterlite. In reality I usually peeled the labels off.  I took this picture so you could see exactly what the product was.  At the time I bought them from Wal-Mart for $1.  I thought it was a great deal--and they served me well for a time.  The drawbacks were: they weren't very portable, the holes on the side wrecked havoc on sliding stamp sets in and out, and they were not stackable.

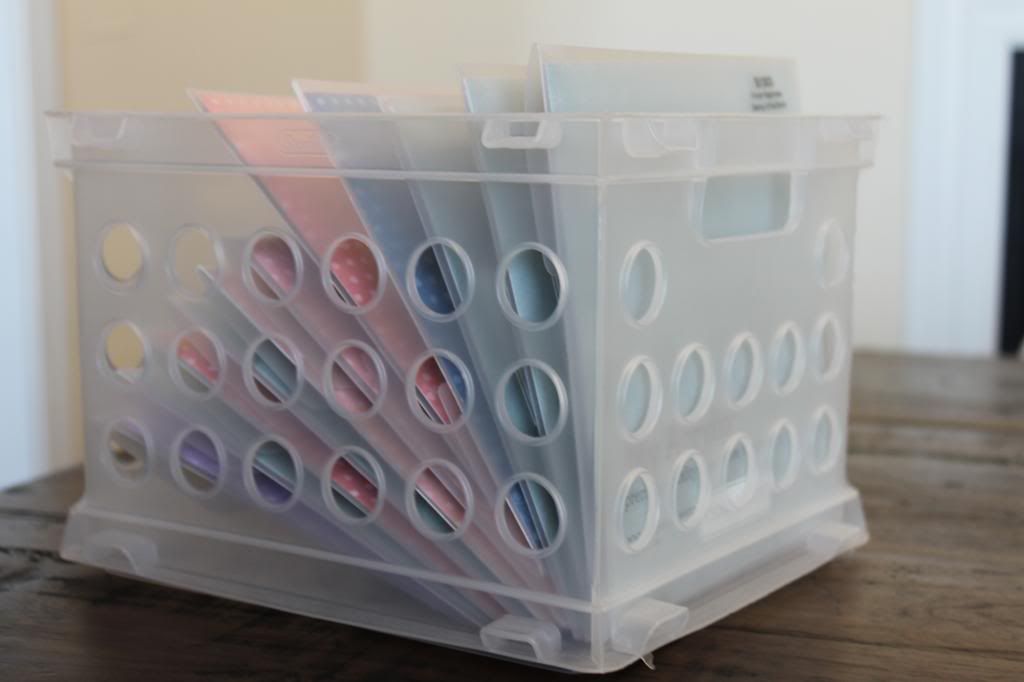
Oh and here is how they usually looked....


I used to attempt to store them by catagory/color, but some stamps didn't really fit into a catagory or CTMH would change their catagory/color system and they ended up being really hard to search through.  I would constantly be saying "Now was that one yellow or pink??"

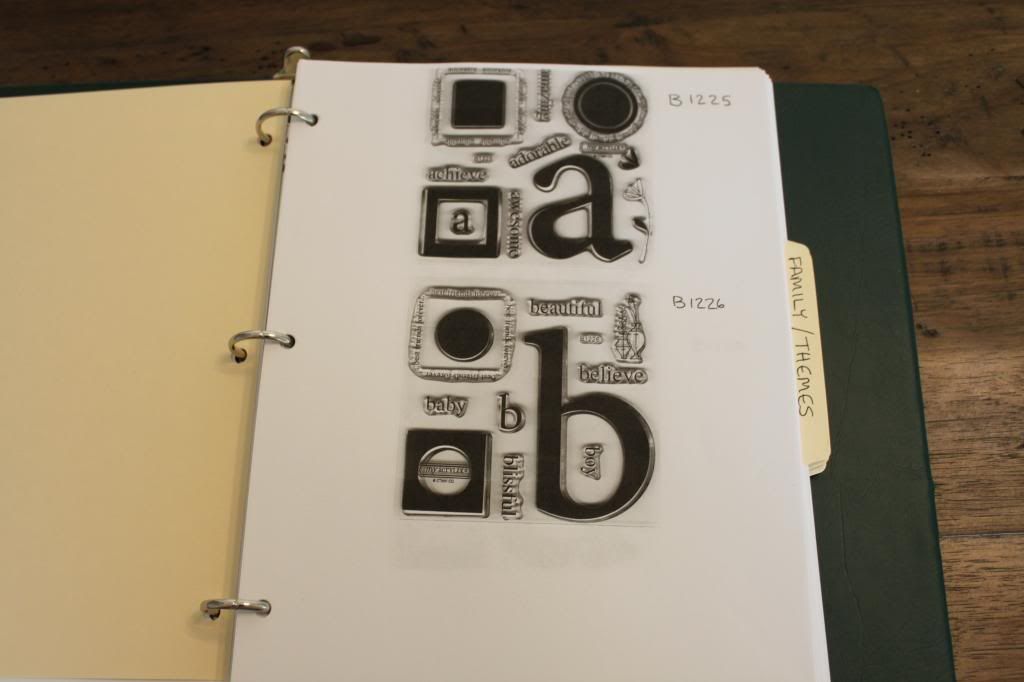
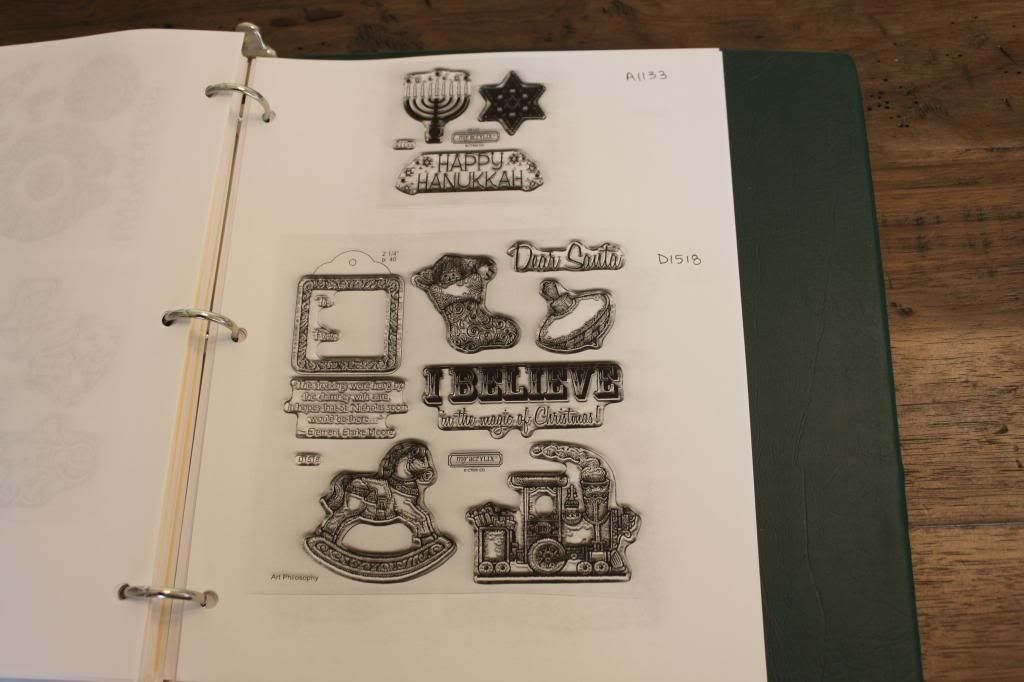
Okay.  So first I decided that the best way to have images of all my stamps was to use my scanner/printer/copier.  (After I asked my husband how to use it of course.)  I scanned two stamps (that I felt were similar) per page.  Note: D sized stamps overlapped a tiny bit so I tried to scan two different sized stamps together when I could.  I actually was using the copy function on my printer, so the images aren't stored in my computer.  I didn't feel like I needed them stored on my computer and the whole process went much faster.


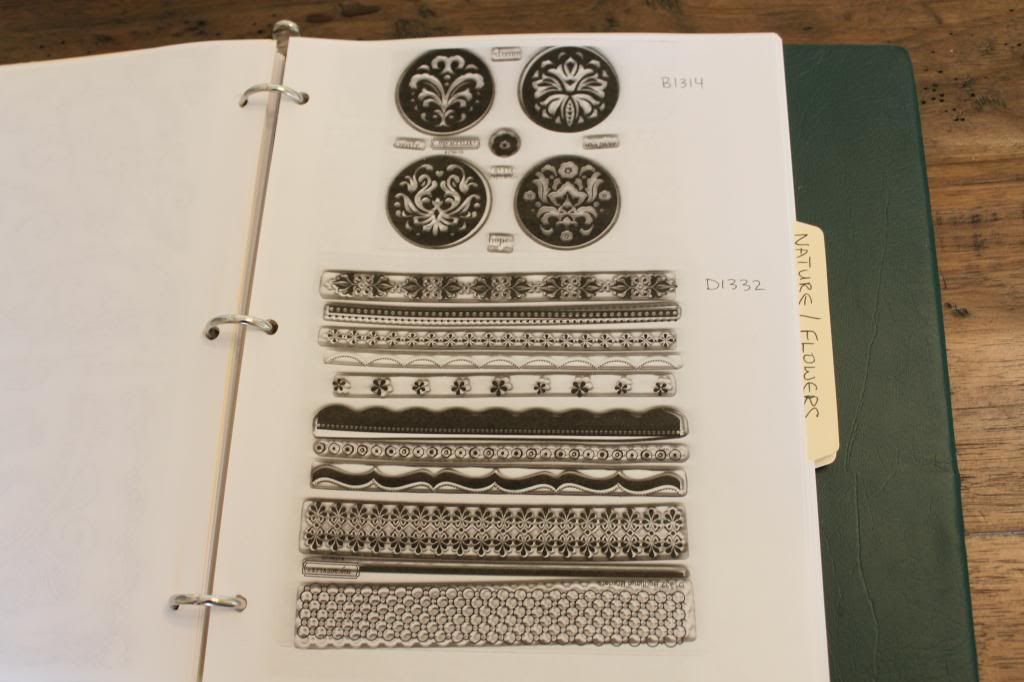
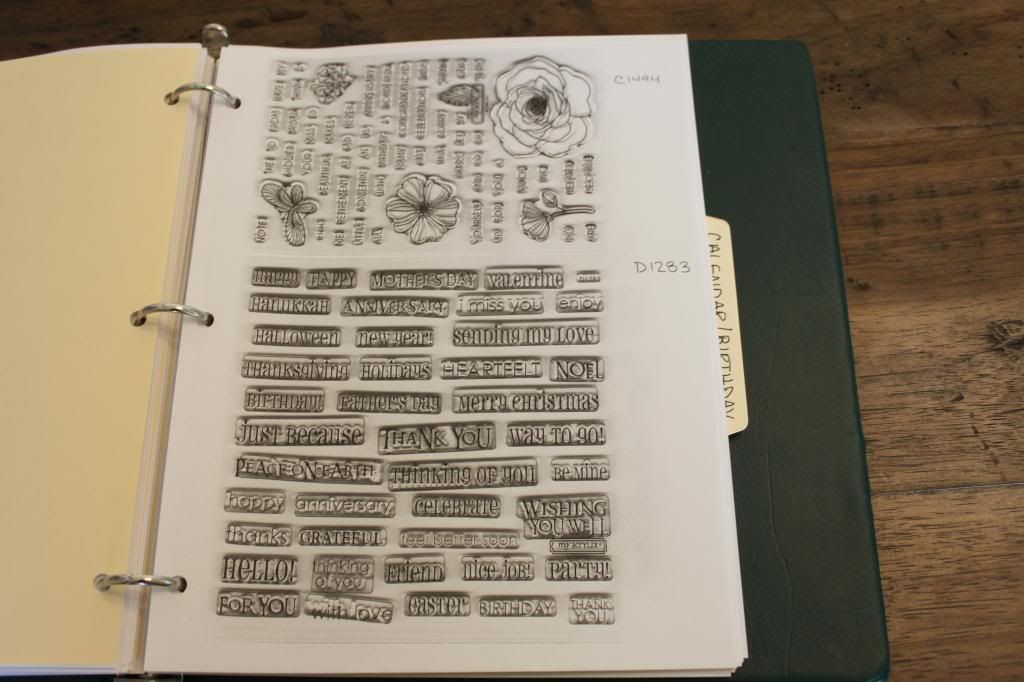
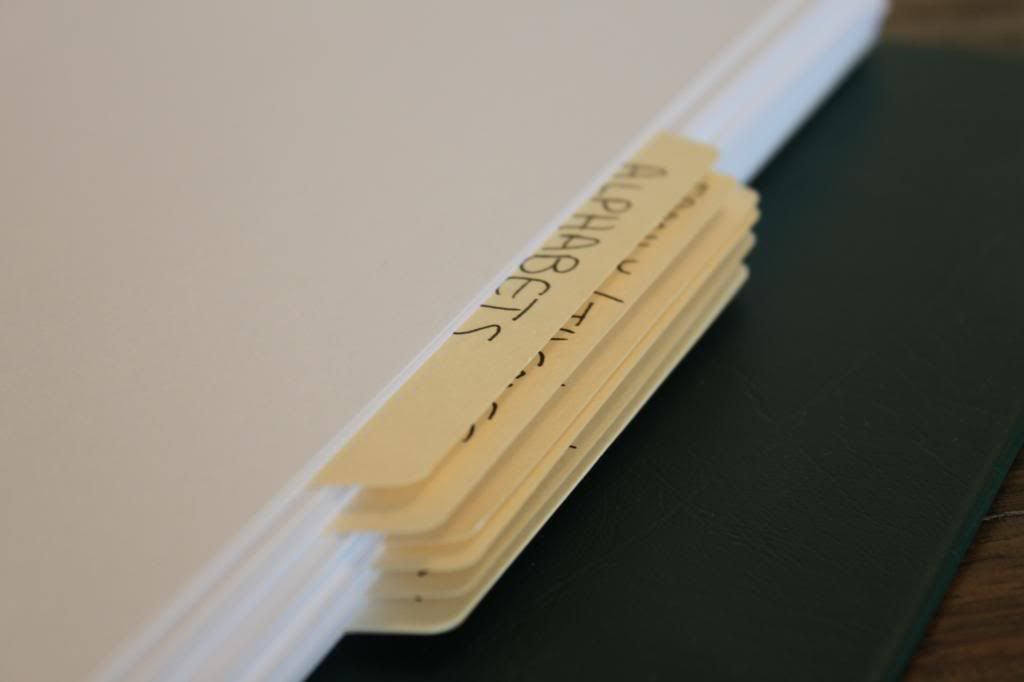
Next I used a three ring punch and added them to a binder.  I used categories of my own making to divide the images.  (Alphabets, Family/Theme/Special Interests, Backgrounds/Borders, Nature/Flowers, Sentiments/Shapes, Calendar/Birthday, and All Holidays.)  Now some of the stamps you might say could go in two different categories.  And while that is true I didn't feel the need to cross-reference any stamp.  It could be because I don't have much patience or because I'm too lazy.  I'll let you decide.  :)


Okay so now that I've found an image I want in the binder, how do I find the stamp set??  I decided all my stamps would be organized in alpha-numerical order.  Meaning A100-A999 then B100-B999, then C100-C999, etc.  (Those are just sample numbers.)  Beside each picture you'll notice I hand wrote the stamp's number for quick reference.  Many times the number is on the image, but sometimes they are tiny and hard to see.


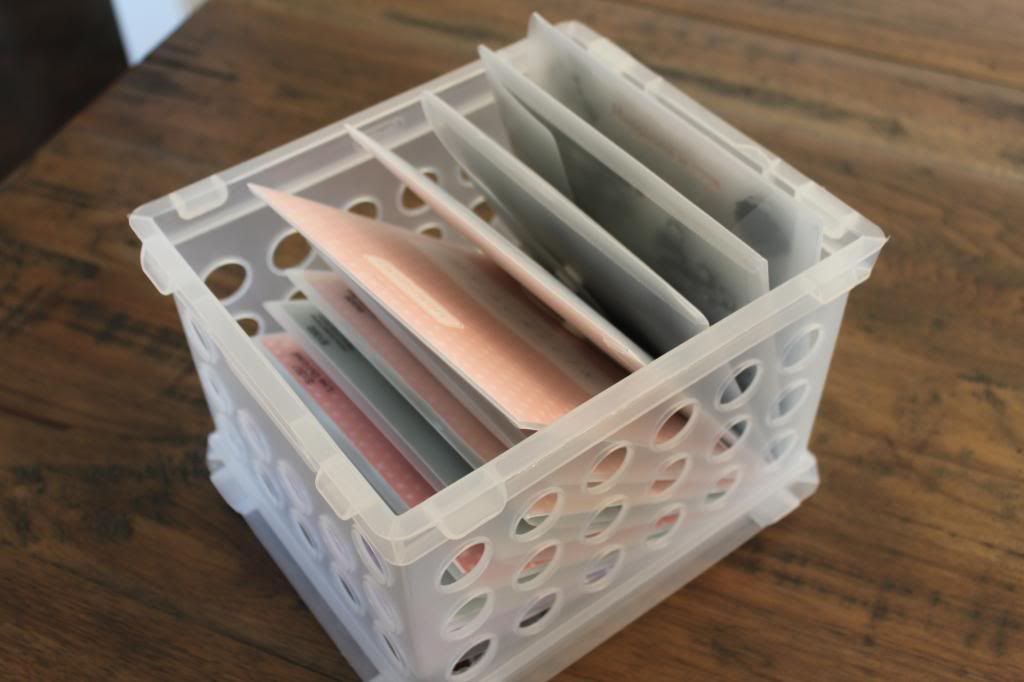
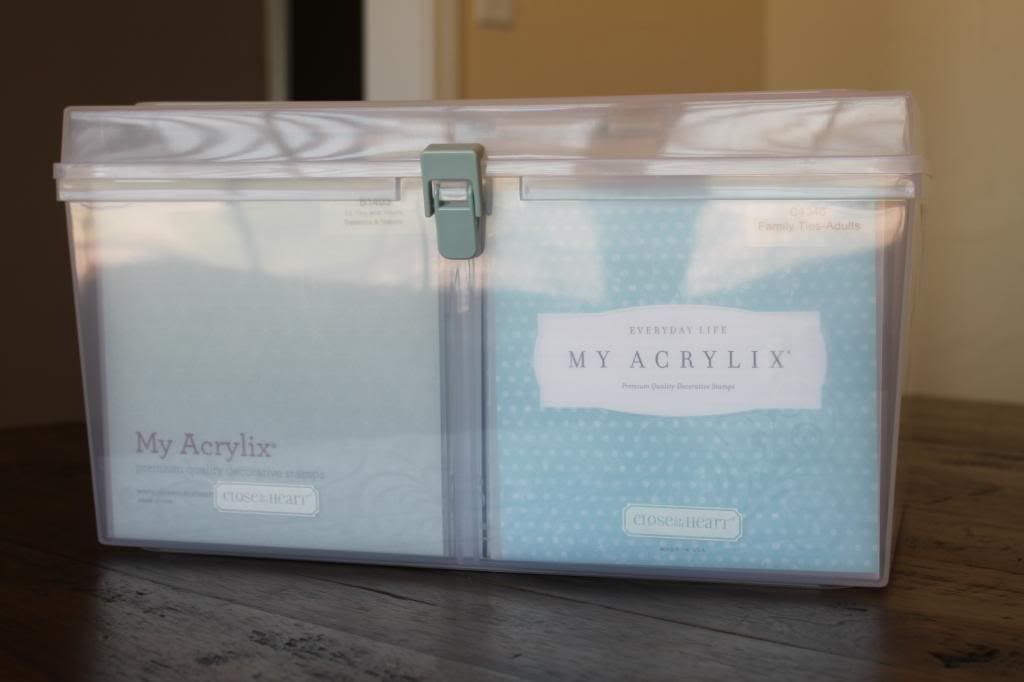
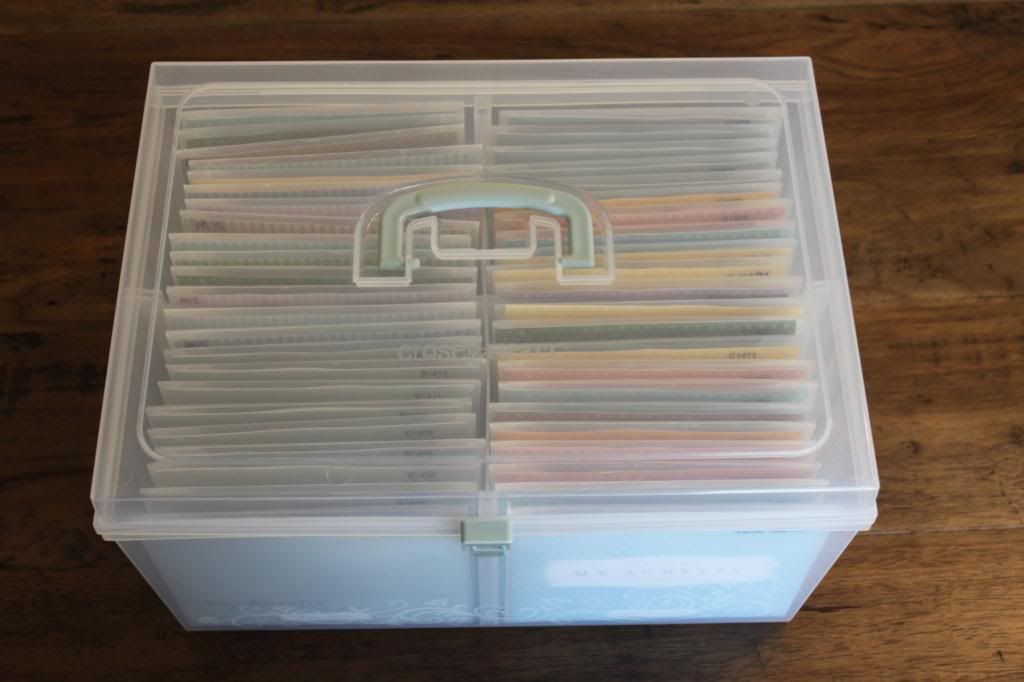
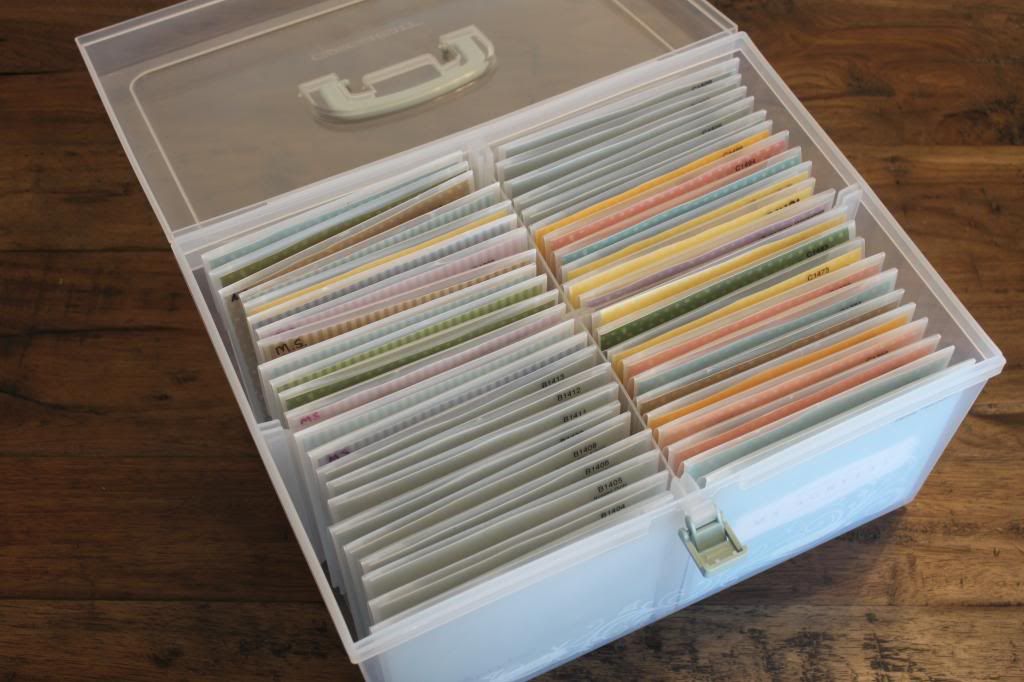
And top the whole thing off I chose to store the stamps in Close To My Heart's lovely Large Organizer (Z1834).  It holds A LOT of stamps, it's portable and stackable!  (The catalog says it holds 40 sets, but I have about 48 in each of mine SHHH!)  One of the best things about Close To My Heart stamps is that they are SO compact.


Another thing I did was to create an Excel document that lists all my stamps sets in order and with title and a note of if I own more than one copy.  I added this list to my binder also.  That way if I want to see if I have a set by title I can look it up quickly too.

It took the better part of the weekend to get this all done, but it makes my hobby life SO much easier!

If you have any organizing tips I'd love to hear them!
Meredith

Sunday, May 19, 2013

You're Tweet (using Dream Pop)

Still have my Dream Pop papers within easy reach and I also had my April Stamp of the Month out.  I thought the birdcages could use a sweet little birdie to accompany them!


A super easy card to put together.  Hope you all are having a wonderful day!
Meredith

Supplies Used: all CTMH unless noted
Paper:  Dream Pop B&T and CS, White Daisy CS
Ink: Lagoon, Black
Stamps: My Sunshine (S1304)
Other: Black Shimmer Trim, foam adhesive